Online Student Resources
While you may be able to use your smartphone or tablet device for some content, these devices are unable to support all the functionality required for all college online courses.
Additionally, Chromebooks may work but are subject to limitations in the online learning environment.
Attention!
For the best online learning experience, we strongly recommend using a laptop or desktop computer running a current Windows or Mac operating system.
Technical Support / FAQs
- Open up a Chrome, Edge, Firefox, or Safari web browser.
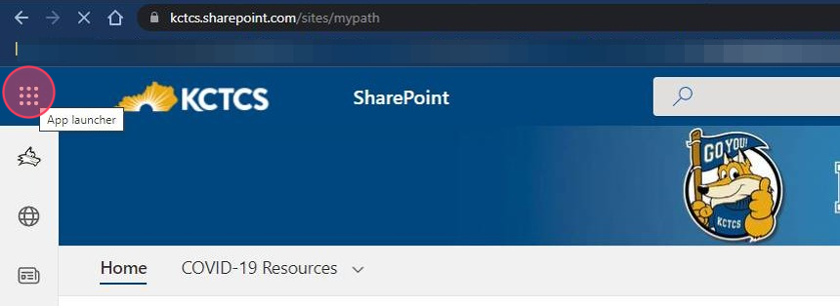
- Navigate to https://kctcs.sharepoint.com/sites/mypath
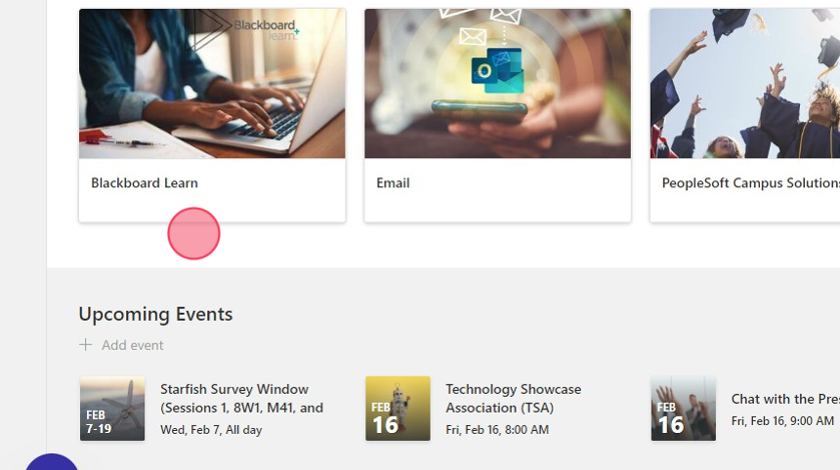
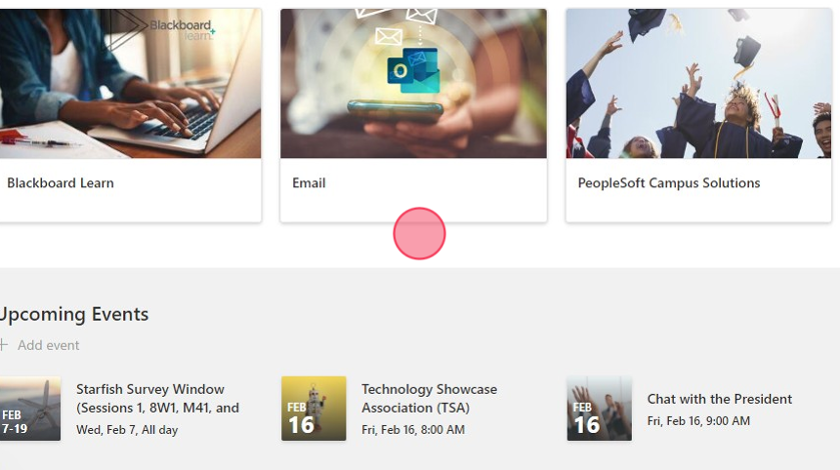
- Click on Blackboard to access your courses.
-
Click Email to access your student email account.
- Click Student Self-Service to access your important student records and financial information.
-
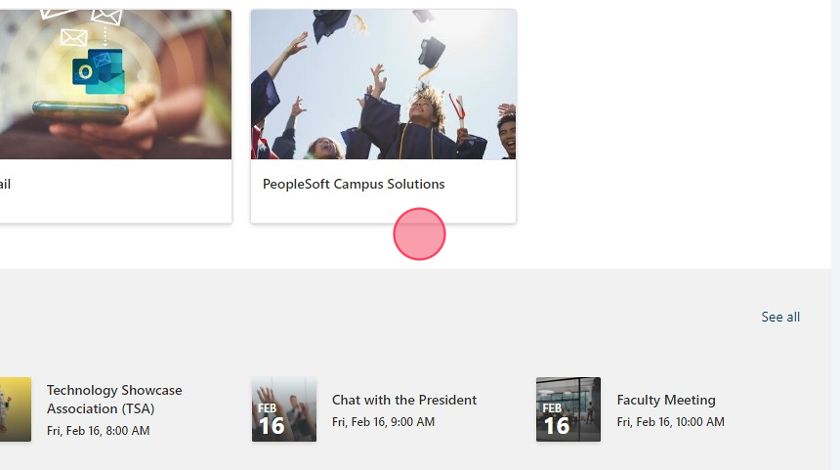
Other student services such as Starfish, Visual Schedule Builder, Student Learning Center, and more are located beneath the main tiles.
 Tip: Use MyPath as an easy way to sign into all of your logins. It's the easiest way
to navigate all the websites you need as a student.
Tip: Use MyPath as an easy way to sign into all of your logins. It's the easiest way
to navigate all the websites you need as a student.
This guide will show you how to access your student email in Office 365 and show you how to compose a simple email message.
-
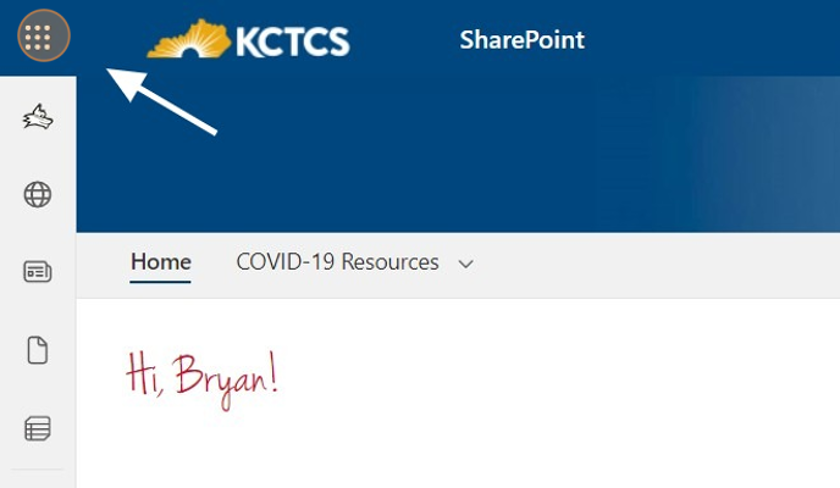
Navigate to mypath.kctcs.edu

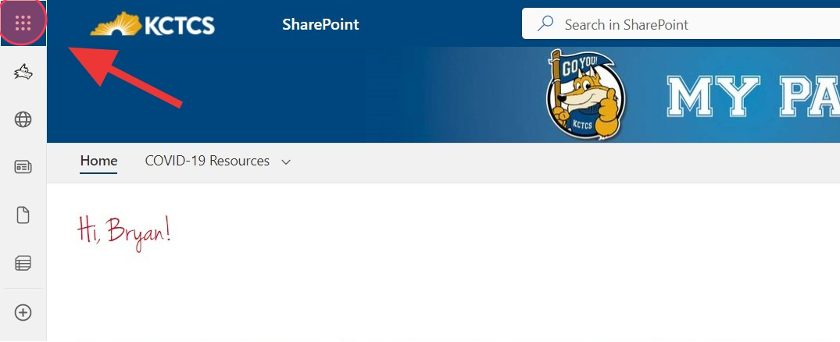
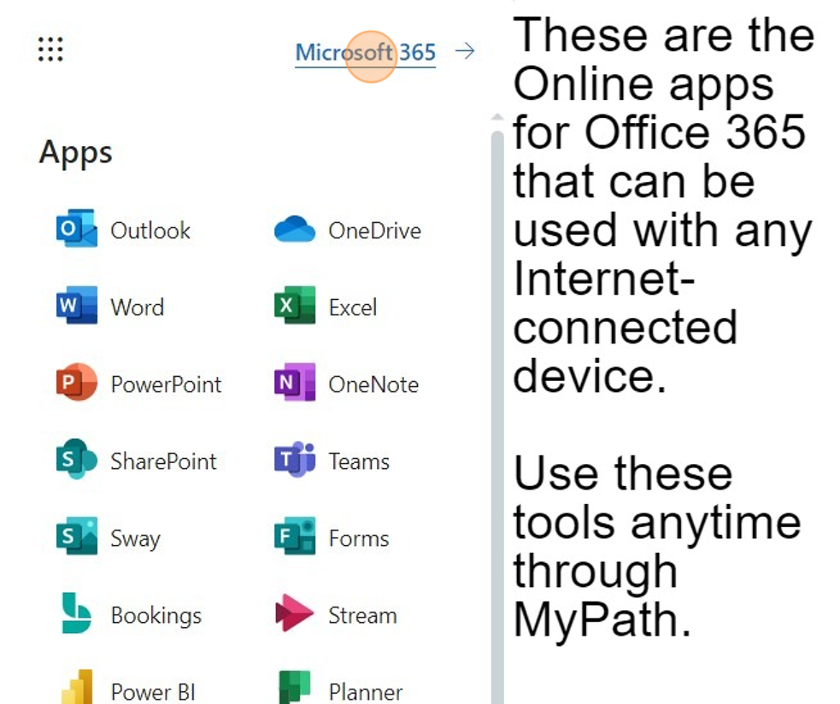
- Click the "All Apps" waffle icon to display all of your Office 365 apps. These are
FREE and INCLUDED with your student account!
- Click "Outlook" from the "All Apps" waffle icon.

- This will open Outlook 365 - your student email account through KCTCS. Click on "New
Mail" icon to begin a new message.
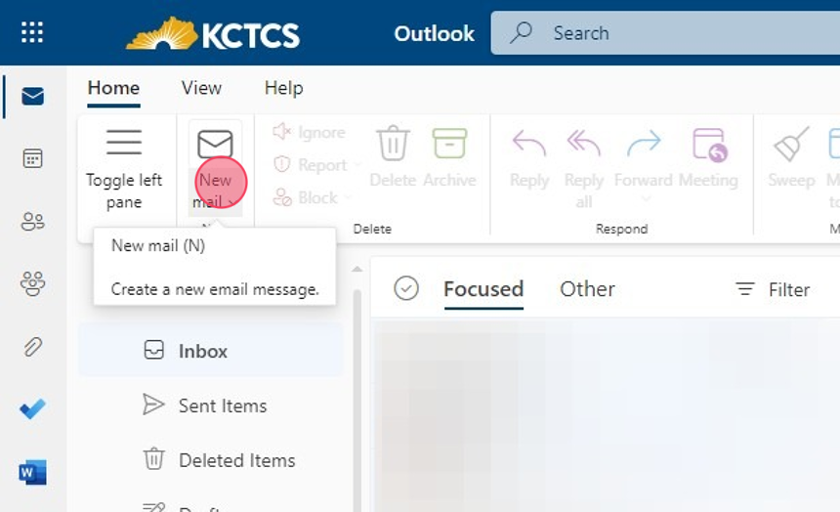
- Click "Mail" from the drop-down list to compose a new message.

-
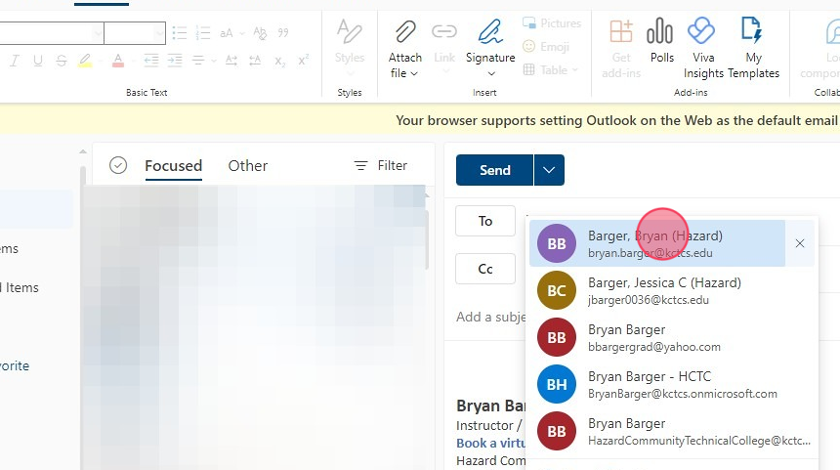
Use the "To" box to search the email directory or type the name of the person you want to email.
- Click the "Add a subject" field to type the subject line of your email.
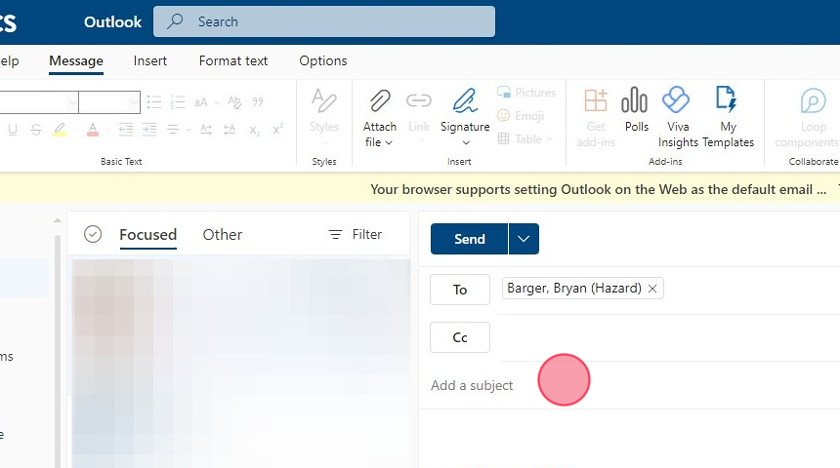
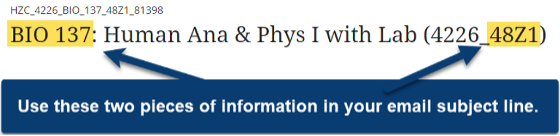
Tip: When you email your instructors, be sure to include your course, number, and section in the subject line. For example, if you have a question over Quiz 1 and are taking BIO 137 (4226_48Z1) your subject line would look like this:
Subject: Question over Quiz 1 BIO 137 48Z1
- Click in the white space of the new email to begin composing your message.
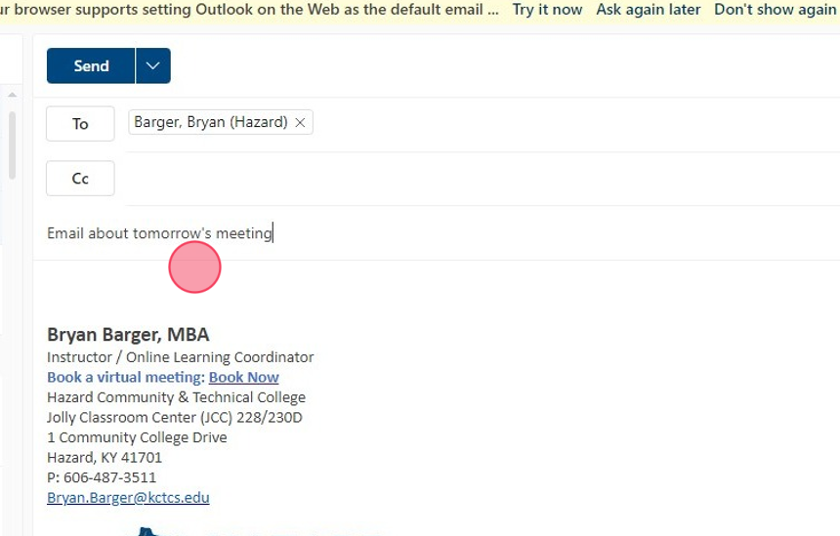
-
Compose your message. In this example, we send a message about tomorrow's meeting.
Tip: Tip!
Depending on your relationship with the person you are emailing, you will need to change how formal you are. If you are emailing someone you do not know, a professional person (such as a professor), or someone who you are not friends with, you will use a more formal tone.
For friends, family, and work colleagues, you can be less formal. This email example is in between a more formal and more informal example.
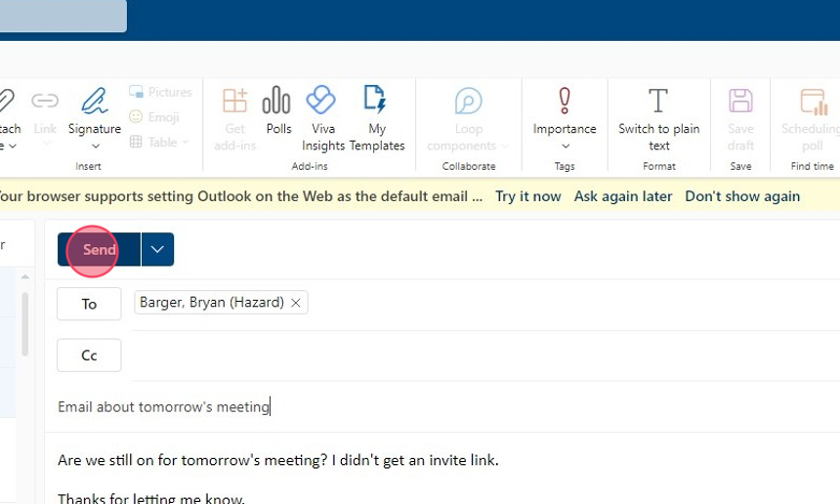
- Once you have read your message and checked it for errors and tone, click "Send" to
send your message.
Tip: Tip!
Using your student email account is very easy! Get in the habit of checking your email AT LEAST ONCE EACH DAY to ensure you do not miss any important emails. Since email is the official communication medium of the college, this is where you will receive all important messages.
These are the most common browsers and are cerfied to work with Blackboard.
- Google Chrome
- Mozilla Firefox
- Microsoft Edge
- Apple Safari
The last two versions of the web browser are supported. If you have issues, try updang your preferred browser. If that does not work, try one of the other browsers listed.

Go to MyPath
In the address bar, go to MyPath.

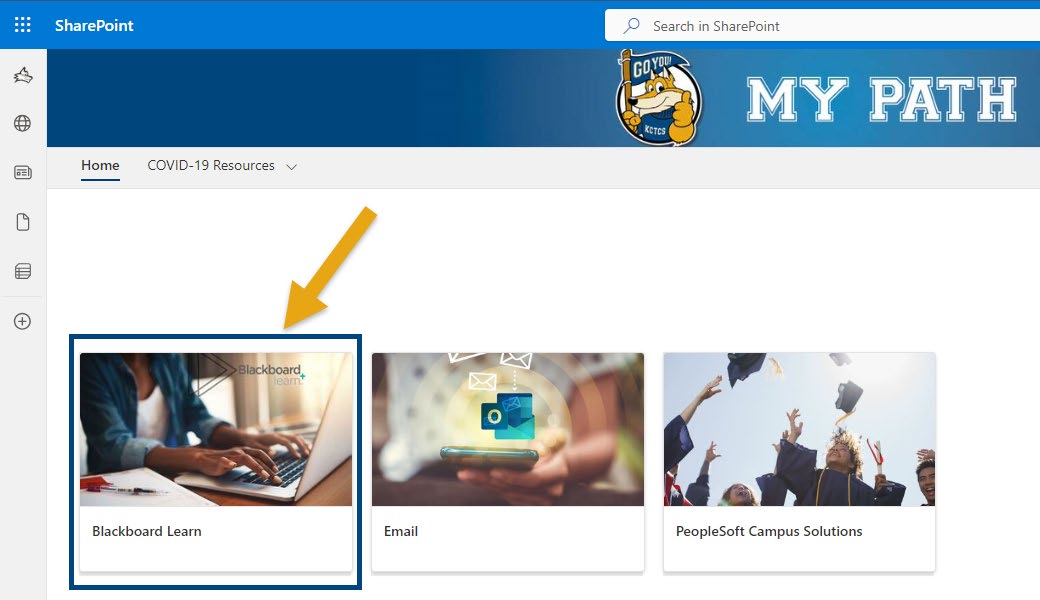
Click on Blackboard Learn
Once MyPath loads, click on the Blackboard Learn title to access the LMS. This is where you will find your online and hybrid courses. Here, you can meet with your instructors in Class Collaborate, send messages, check assignments, see announcements, post discussions, check your grade book, and much more.
This is a third-party remote tutoring service you can use to help you with your courses. Students have 7 hours of allotted Brainfuse time. You should use HCTC tutors as a first option, then use Brainfuse if HCTC tutors are unavailable.
- Open your web browser and navigate to elearning.kctcs.edu and use your KCTCS student account to login. Alternatively, you can go to mypath.kctcs.edu, login, and click on Blackboard to access your courses.
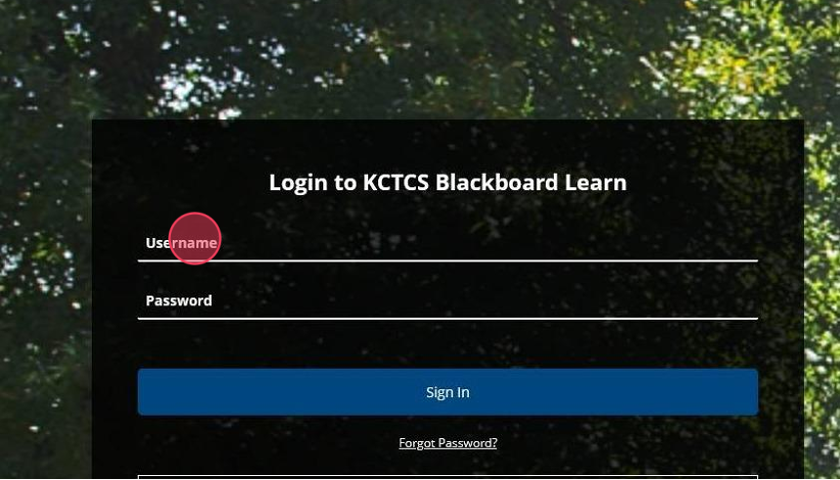
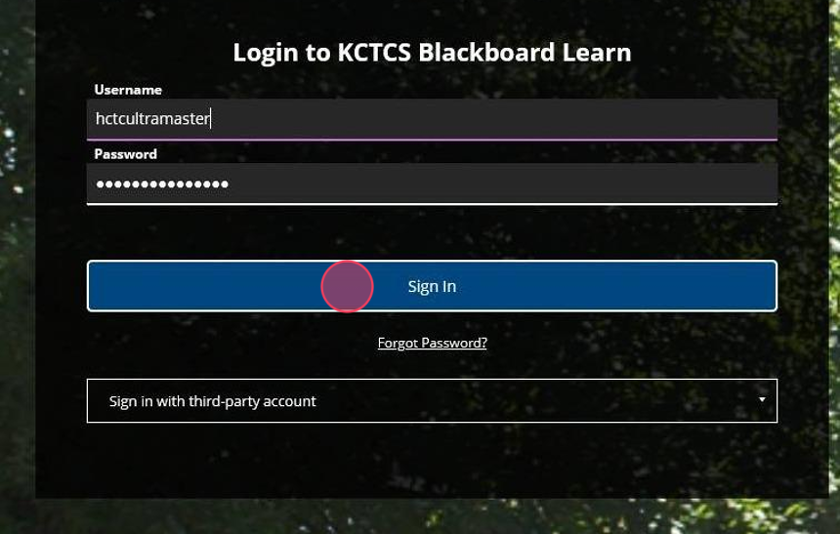
- Use your student account to login to Blackboard. (This is not required if you login
through MyPath).
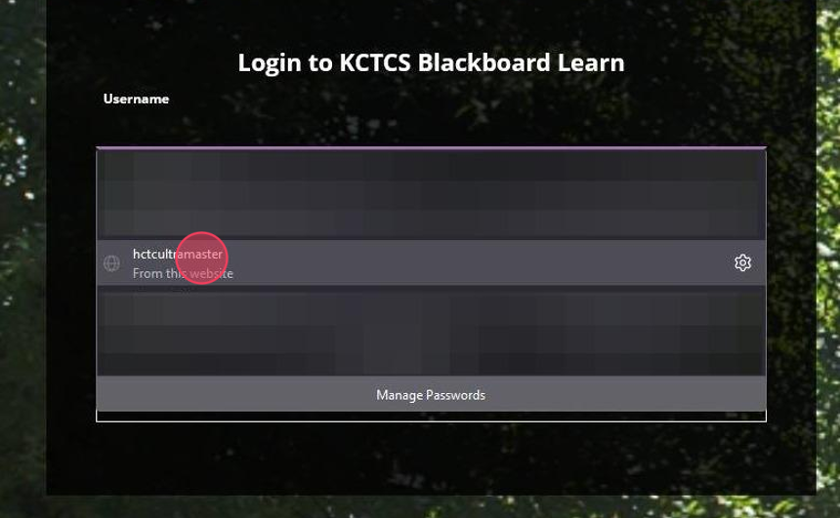
- Click "Sign In"
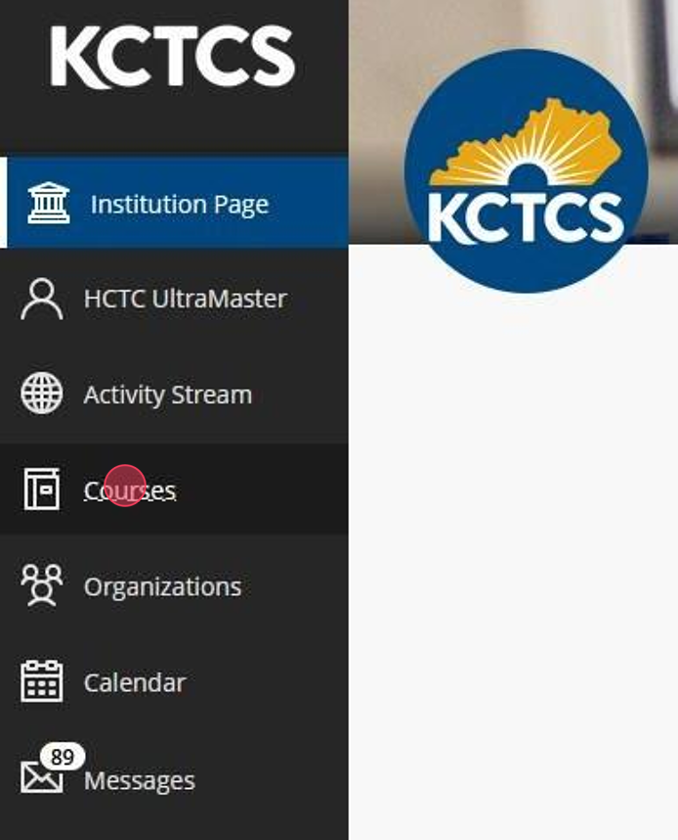
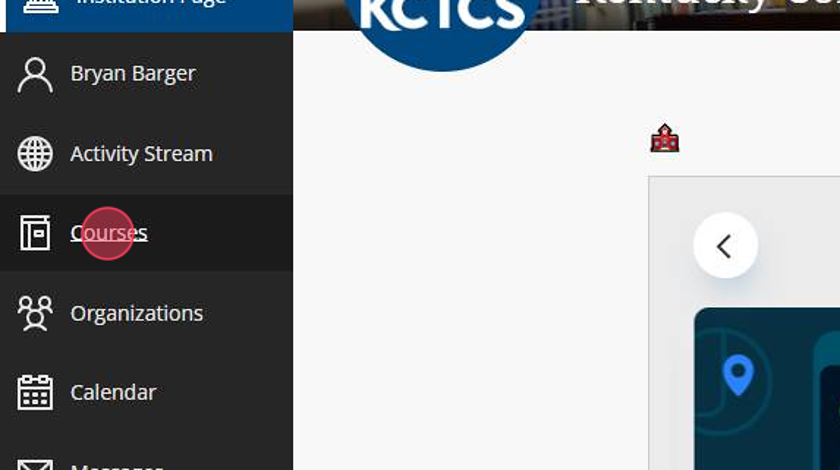
- Click "Courses"
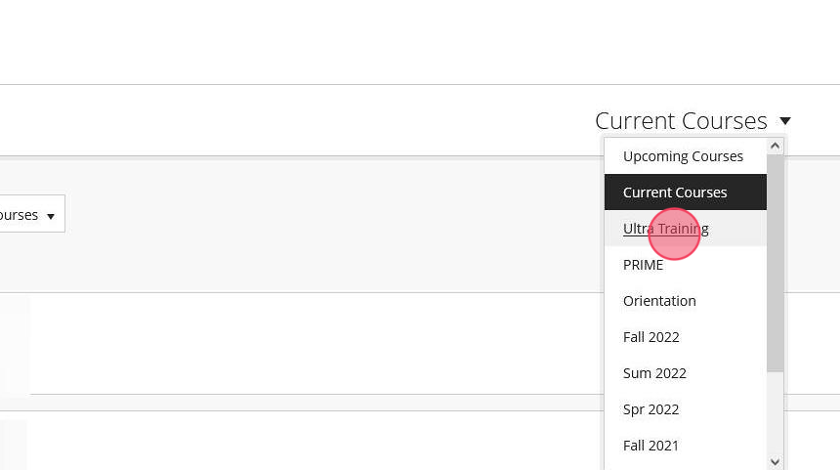
-
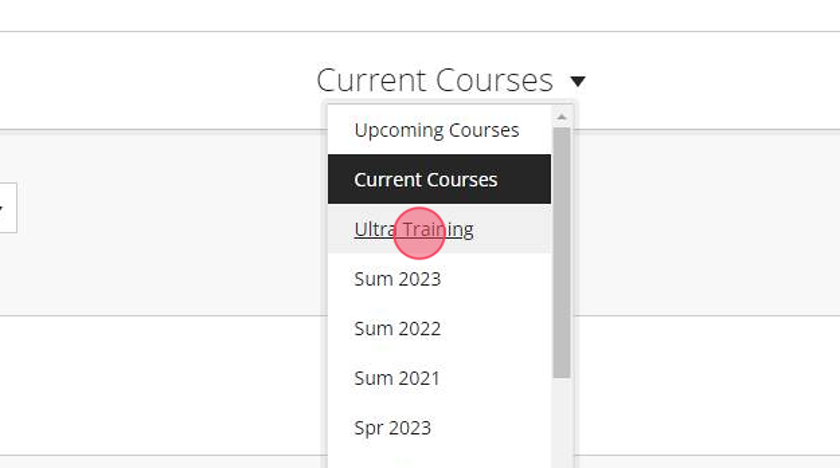
Optional: Change your period from "Current Courses" to Spring 2024, Fall, 2024, etc., until you find your current semester.
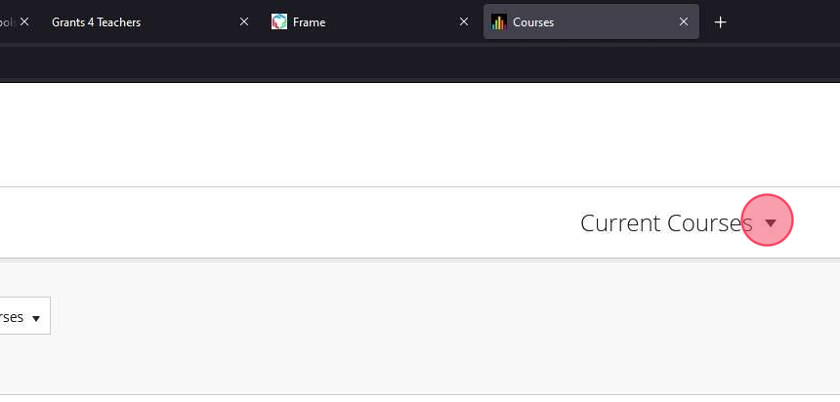
-
This example selects the term "Ultra Training". You will choose whatever your semester is (i.e., Fall 2024, Spring 2025, Summer, 2025, etc.).
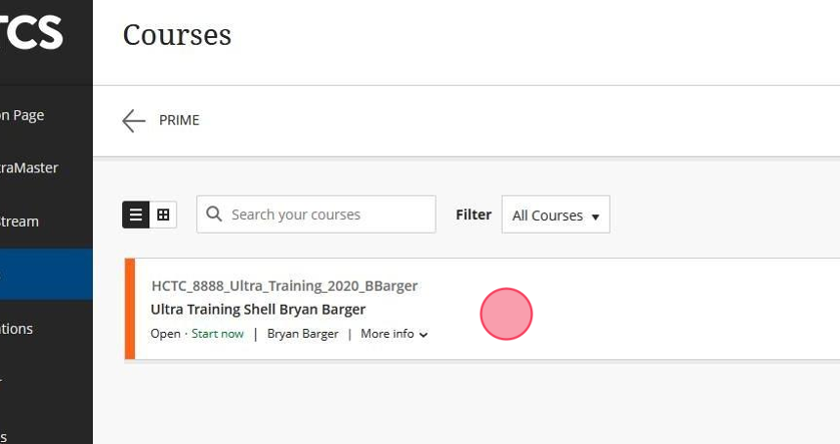
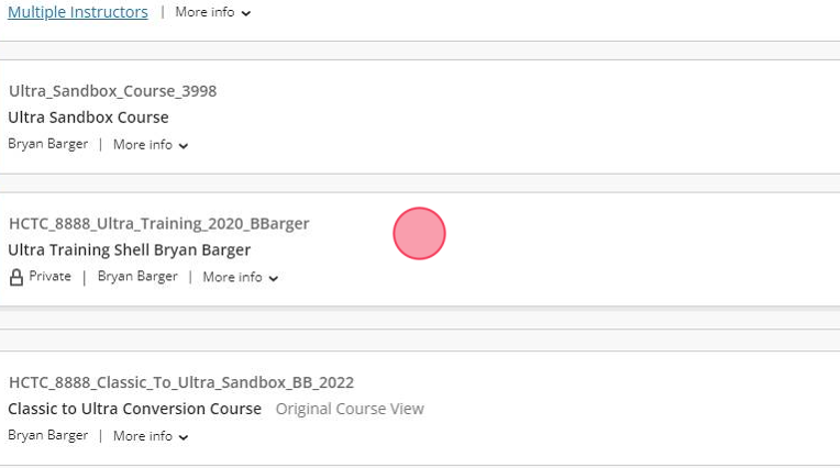
- Once you have selected your semester and can see the class you need to use Brainfuse
in, click on the course. In this example, the course is Ultra Training Shell Bryan
Barger.
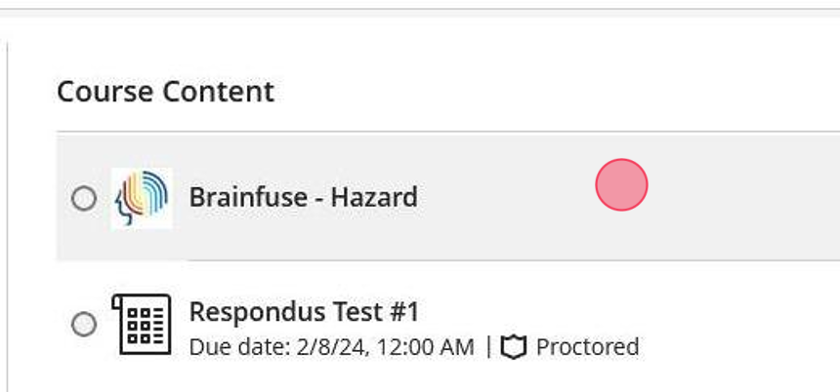
-
Once you are inside your course, click on the Brainfuse tool shown in your course content area. This tool will take you to Brainfuse and automatically create an account for you (if you do not have one already).
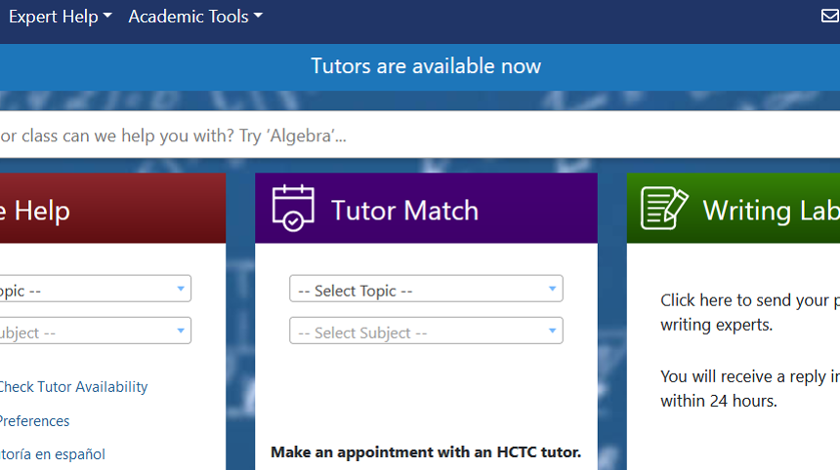
-
You will be redirected to the Brainfuse Student Homepage. From here, you can:
- use the Writing Lab for help with reviewing your papers (this will reduce your available time),
- use Tutor Match to connect with HCTC tutors (this will not reduce your available time,
3)use Live Help for Brainfuse tutors (this will reduce your available time).
-
In Blackboard, click on "Courses" to find your course. If you are not in Blackboard, go to mypath.kctcs.edu and click the Blackboard tile from your homepage.
- If you need to, change the semester. You can view the "Current Courses" layout which
will have the last few semesters listed, or you can choose the exact semester (e.g.
Spring 2023, Fall 2023, etc.) from the list.
- Click on the course you want to open.
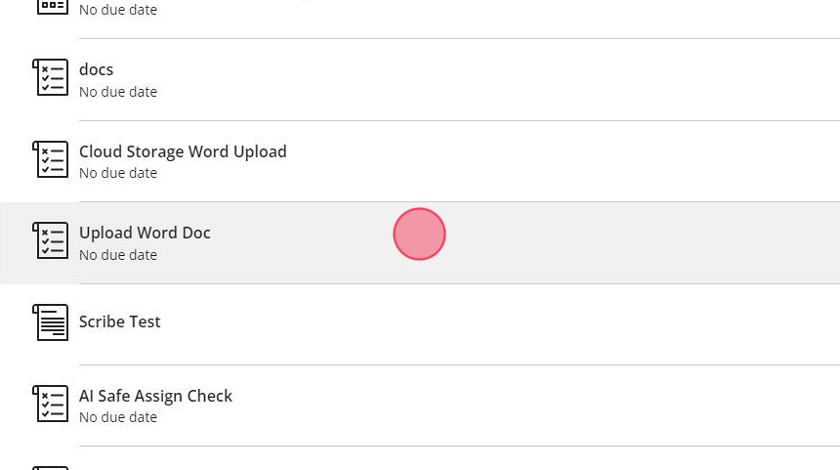
- Once inside your course, find the assignment you need to submit a file for. In this
case, "Upload Word Doc" is chosen.
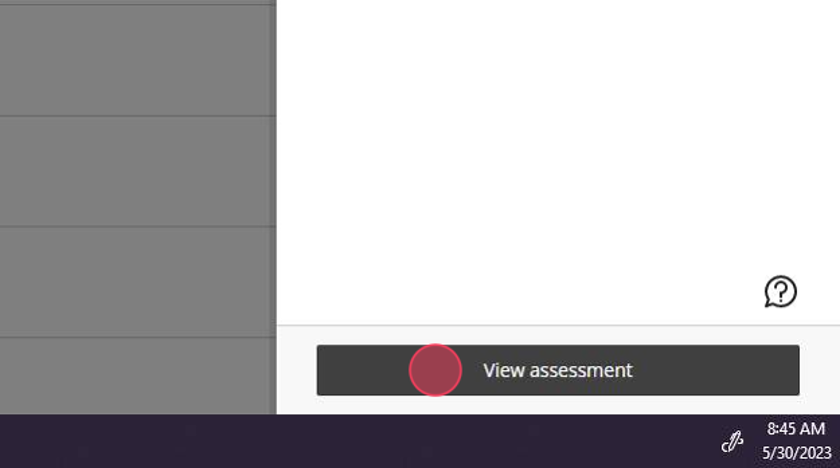
- Click "View assessment"
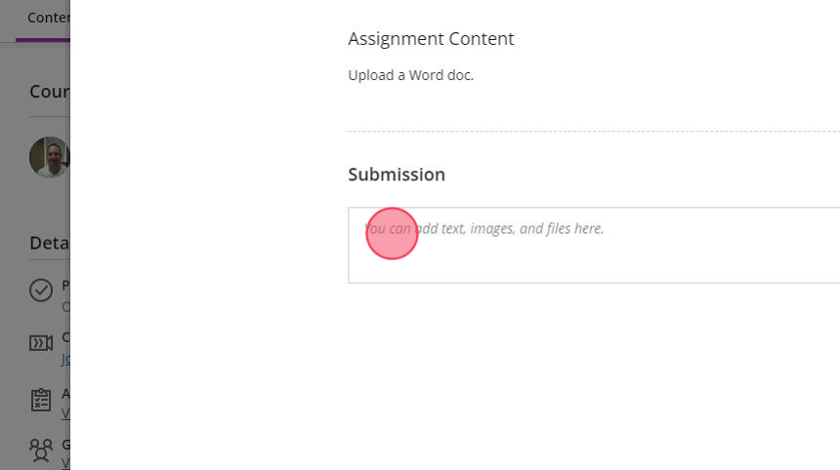
- To add text to your submission, click "You can add text, images, and files here."
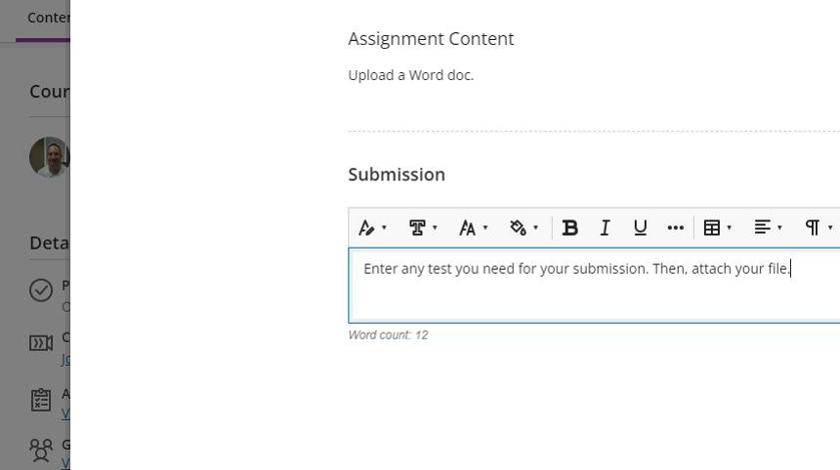
This will open up the text editor to allow you to enter information.
- Once you have entered any text information, you can add your file attachment.
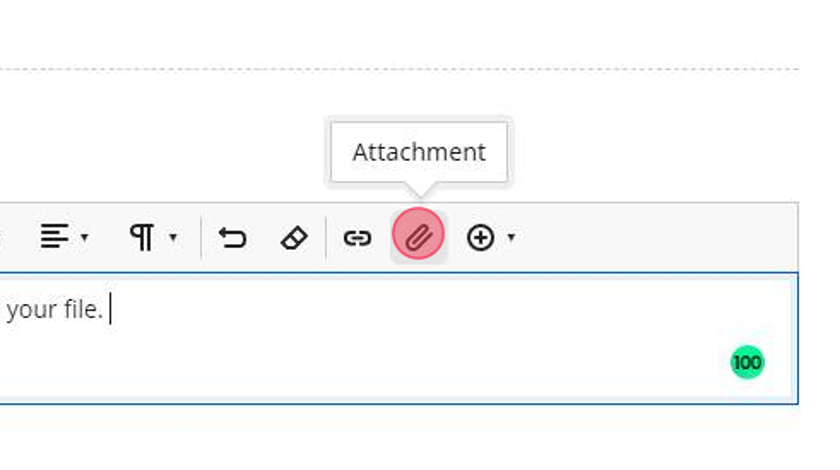
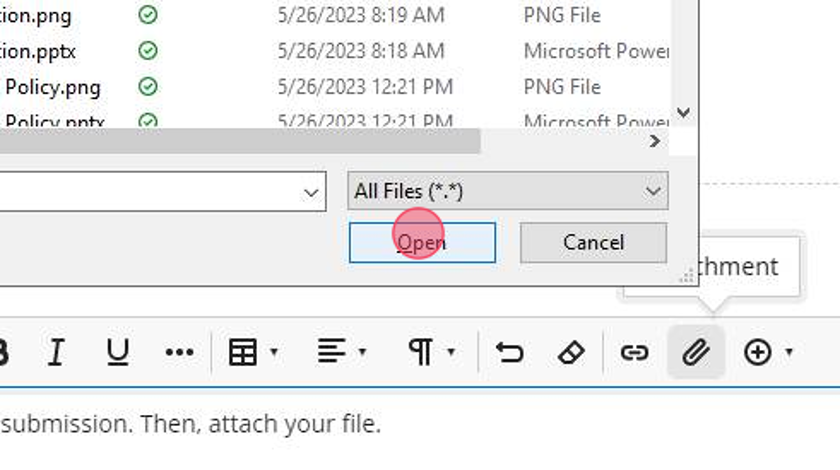
- In the editor ribbon, click "Insert/edit local files" or the "Attachment" icon. It
looks like a paperclip.
-
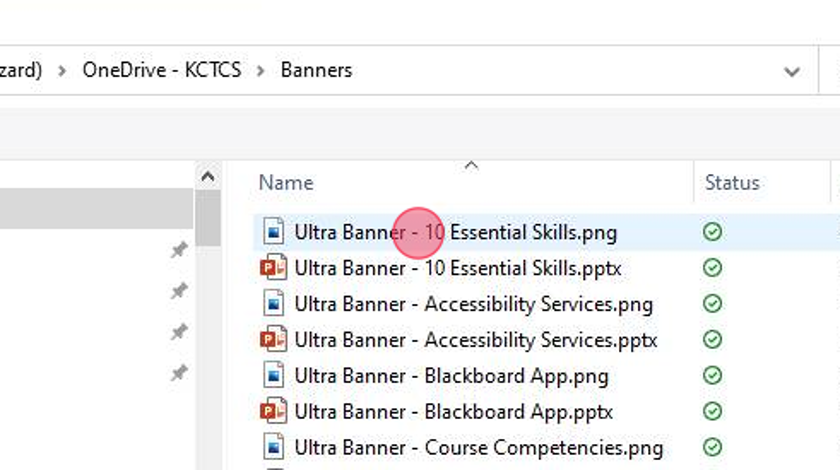
Once you click the paperclip icon, find the file you wish to upload. In this example, an image file is selected.
- Click "Open" on the dialog box to select your file.
-
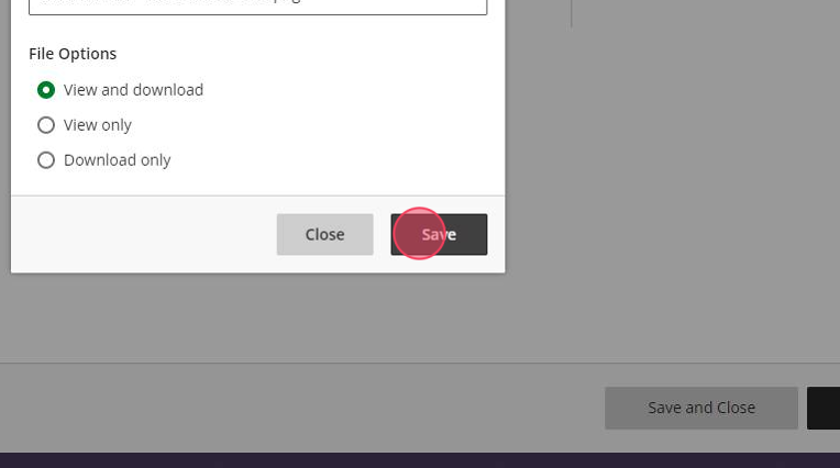
OPTIONAL STEP: Click "Save" if you upload an image or if you are prompted. Otherwise, proceed to the next step.
-
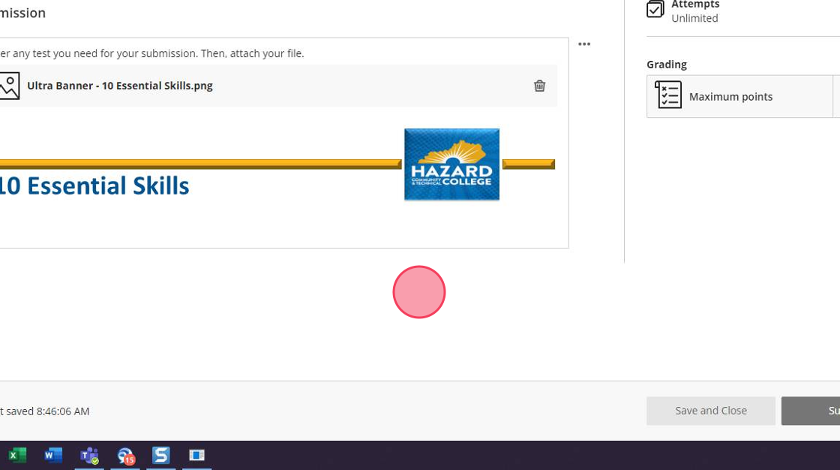
The text you entered in the text box along with your newly attached file should be inside the text editor. Some files will show inside the box. Others will only show up as an attached item. As long as you see your file inside this text editor, it attached successfully.
-
Click "Submit" to turn in your assignment with the attachment.
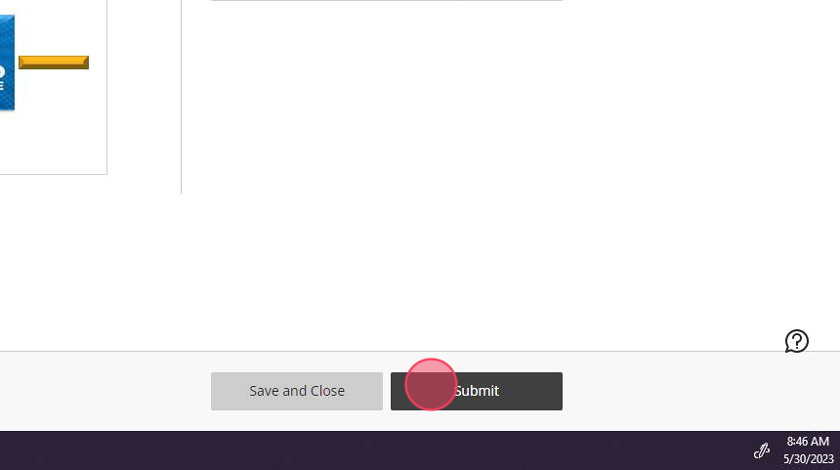
-
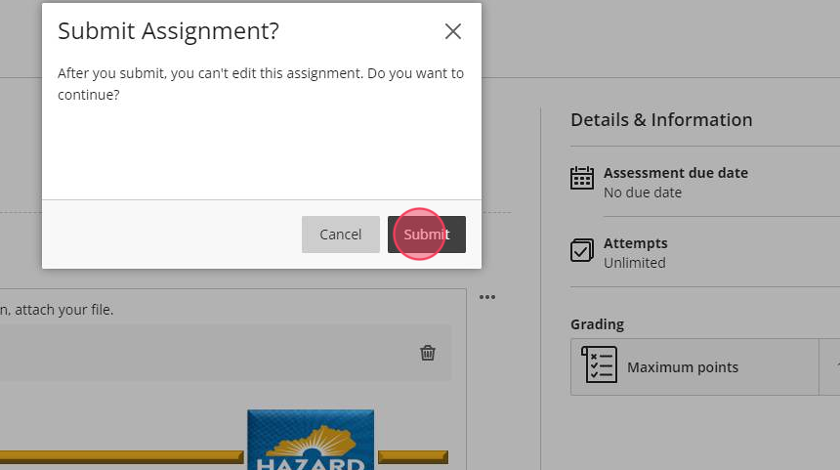
Click "Submit" again to confirm you want to upload your assignment.
-
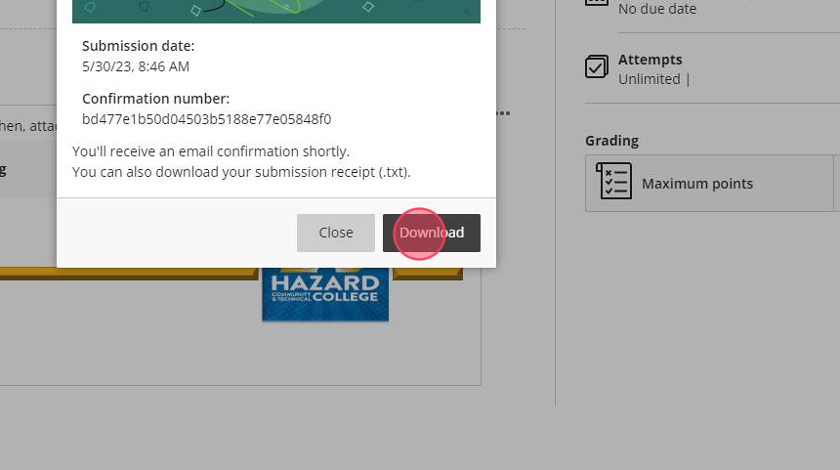
Click "Download" if you want a receipt of your assignment submission. This is helpful in case you ever encounter a situation where your instructor does not receive your assignment submission. It is recommended you download this file and keep it until your assignment has been graded.
-
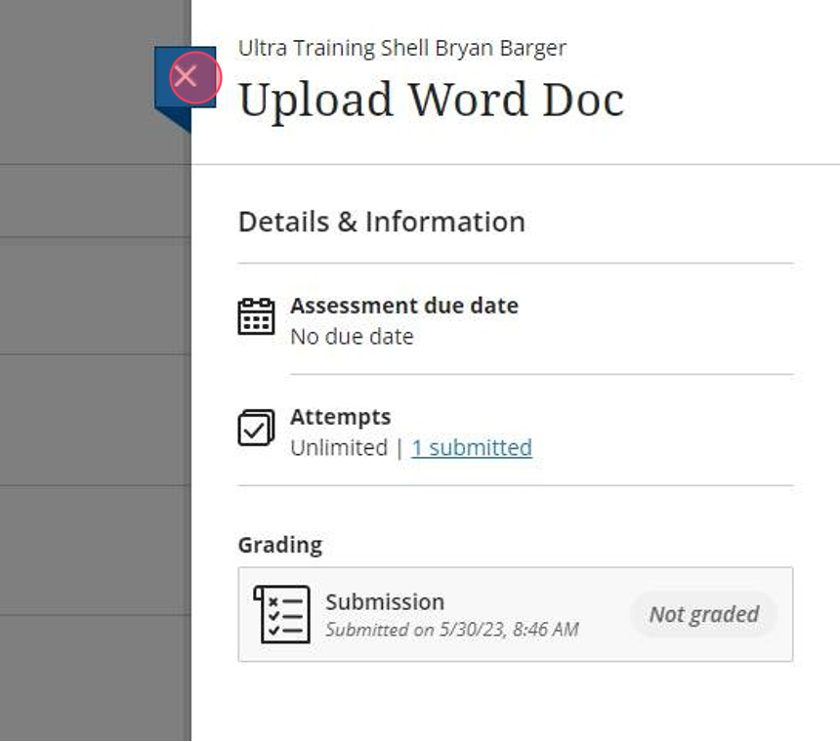
You can now click the "X" to close the assignment and return to your course homepage.
With so many different computers, software, and devices available on the market, there can be issues with some file types. Knowing how to convert them into the file type your instructor requires is important.
Tip: Tip!
Using Cloud Convert (or another web-based file-converting software) can help make sure you have the right file type for your assignment.
Submitting the wrong file to your instructor may cause it to not be readable, which may reduce your grade for the assignment.
- Navigate to https://cloudconvert.com/

-
On the Cloud Convert page, you will either click [[Login]] if you have an account or click [[Sign Up]] if you need to register a new account.
![On the Cloud Convert page, you will either click [[Login]] if you have an account or click [[Sign Up]] if you need to register a new account.](https://hazard.kctcs.edu/current-students/student-resources/media/convert-files-from-one-formate-to-another/signup.png)
-
For new accounts, you can register with Facebook, Google, or Twitter if you have an account with one of those services. You can also sign up with Cloud Convert directly by choosing a username and password and entering your email address. Then, click [[Register]]
![For new accounts, you can register with Facebook, Google, or Twitter if you have an account with one of those services. You can also sign up with Cloud Convert directly by choosing a username and password and entering your email address. Then, click [[Register]]](https://hazard.kctcs.edu/current-students/student-resources/media/convert-files-from-one-formate-to-another/register.png)
-
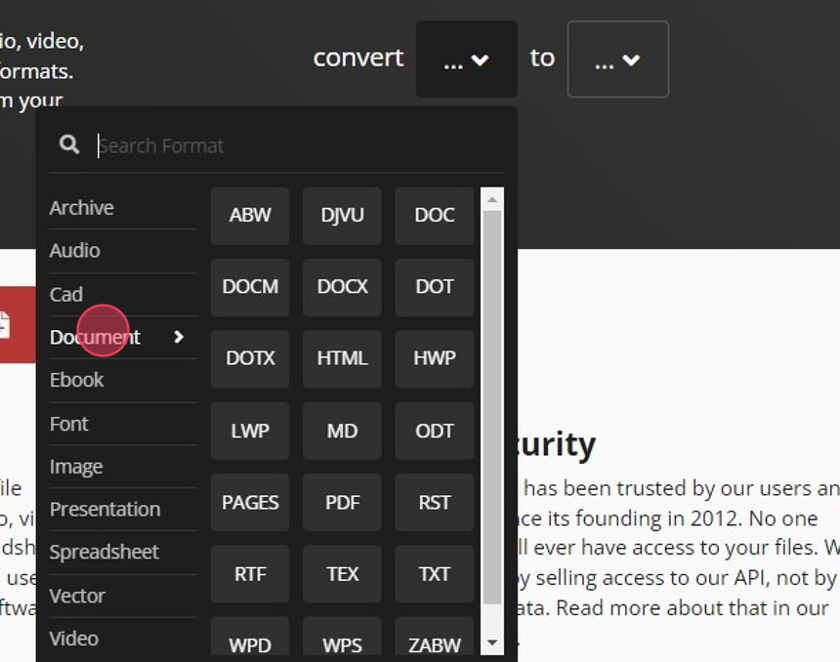
Once you are logged in, there are two drop-down boxes. The first box is the file type you have and the second one is the file type you want to convert to.
-
When you click on the drop-down box, you will see many file types such as "Document", "Image", or "Video" and several options for file extensions such as ".docx", ".png", or ".mp4".
-
In this example, this setting would convert a Word document (.docx) to an Adobe Reader file (.pdf).

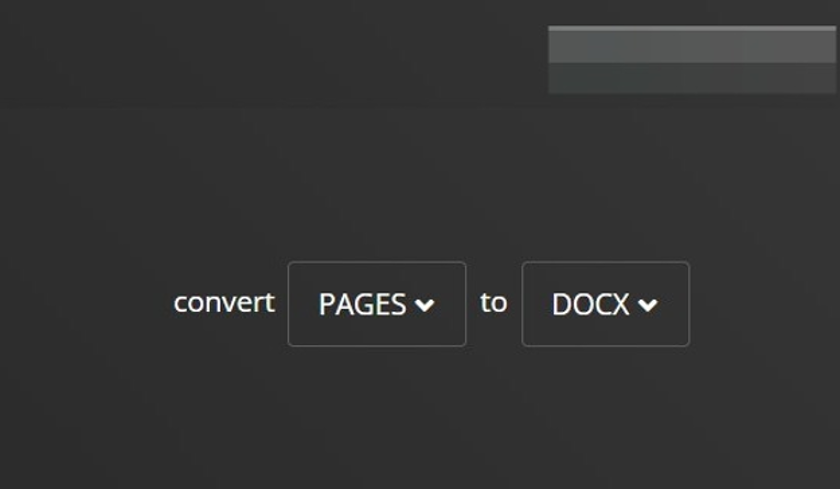
- In this example, a Mac word processing file (.pages) would be converted to a Microsoft
Word document (.docx).
Alert: Alert!
Converting .pages into a .docx file is something you should know how to do if you use a Mac computer.
Blackboard Ultra WILL NOT RECOGNIZE .pages files. Thus, your instructor CANNOT OPEN these files.
If you use a Mac computer, make sure you save your files as .docx or convert them using this online converting tool.
-
When you are ready to convert your file from one file extension to another, click the [[Select File]] option and choose where your original file will come from.
![When you are ready to convert your file from one file extension to another, click the [[Select File]] option and choose where your original file will come from.](https://hazard.kctcs.edu/current-students/student-resources/media/convert-files-from-one-formate-to-another/from-my-computer.png)
-
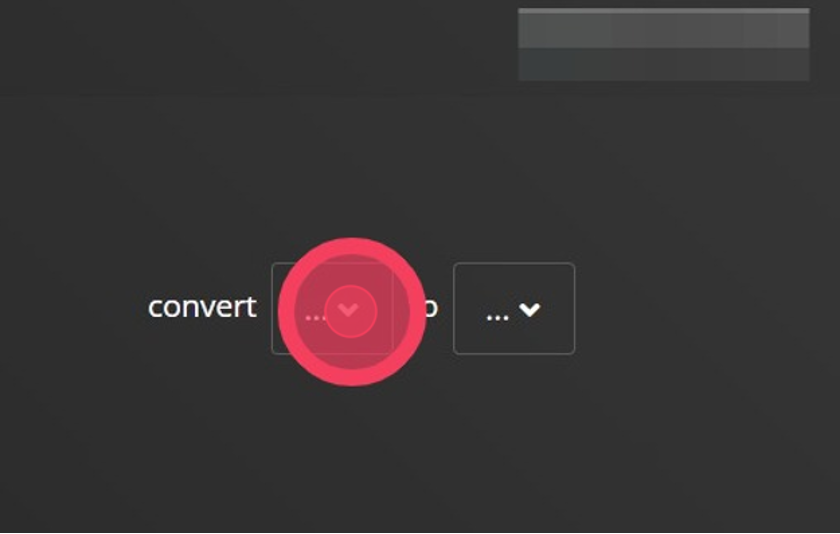
Click [[Convert]] when you have uploaded the file you want to convert and selected the file extension changes.
![Click [[Convert]] when you have uploaded the file you want to convert and selected the file extension changes.](https://hazard.kctcs.edu/current-students/student-resources/media/convert-files-from-one-formate-to-another/click-convert.png)
-
Once the file finished processing, click [[Download]] to download your newly converted file
![10. Once the file finished processing, click [[Download]] to download your newly converted file](https://hazard.kctcs.edu/current-students/student-resources/media/convert-files-from-one-formate-to-another/download-file.png)
Tip: Tip!
Your new file will most likely download into your computer's default download folder. Check to make sure your file is the new file extension you want.
Open the file and make sure it looks the way you want it to and that no conversion issues arose from converting the file.
You can access Office 365 anytime, anywhere with your student ID and access to the internet. This guide will show you how to access Word Online, create a document, rename the file, and save it to OneDrive.
-
Open a web browser and navigate to mypath.kctcs.edu.

-
Click on the App Launcher (waffle icon) in the upper left-hand corner of MyPath.
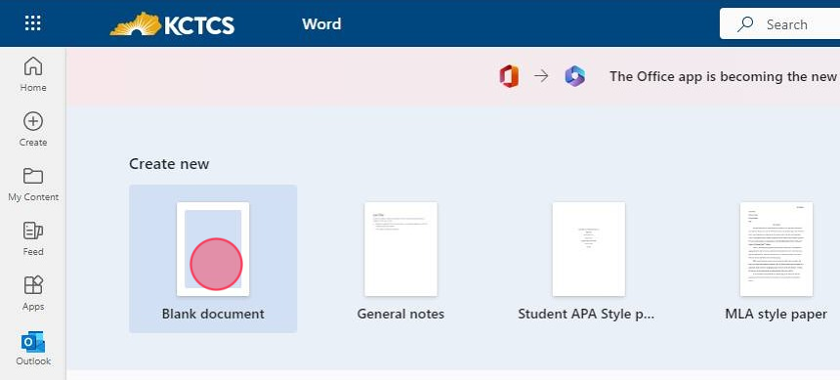
- Click on one of the Office 365 Apps available to you. In this case, we'll choose Word.

-
Once Word opens up, click "Create a new blank document" to create a new Word Online file. This document will automatically save inside your OneDrive account.
-
Your new Word Online document will open.
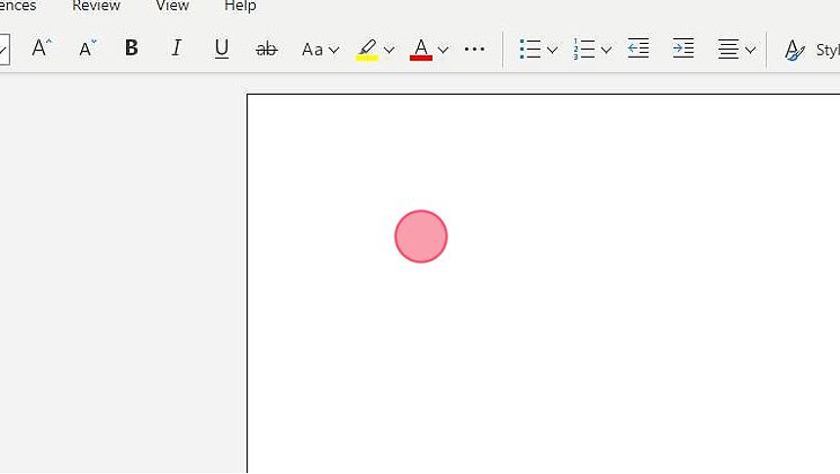
- Your document will save automatically in your OneDrive folder as you are typing.

-
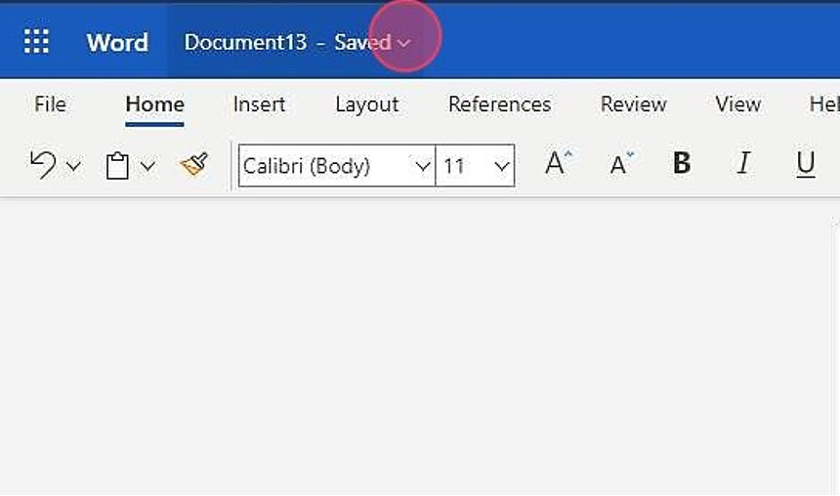
Click on the Document Name to change the file name.
-
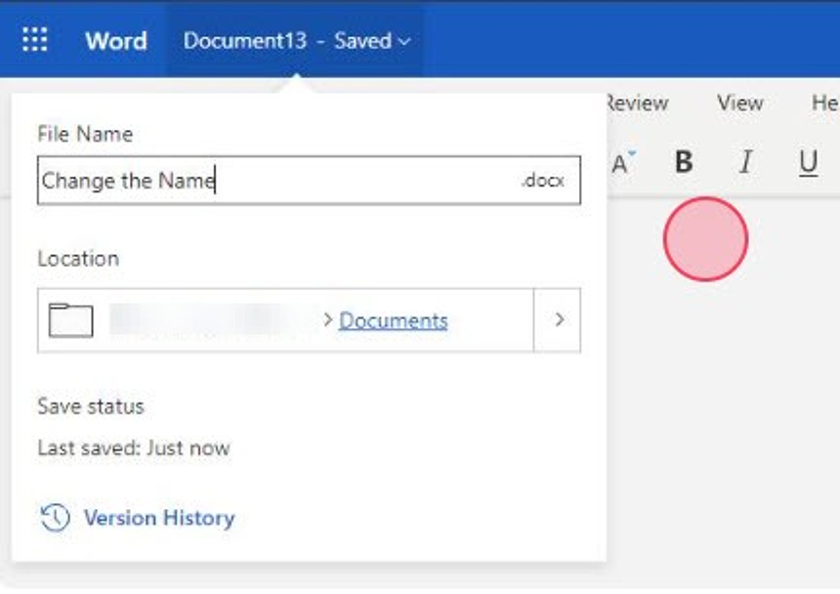
Once the dialog box opens, change the name of your document, hit "Enter" and your document file name will be changed and automatically saved.
Tip: Tip!
This works for any Office 365 App--Word, Excel, PowerPoint, OneNote, or any other apps available to you.
Tip: Tip!
Remember, this is Office 365 Online. There is a desktop version of the software available to you as a student of KCTCS. It is FREE with your student username and password. Don't forget to download the desktop version of the software onto your Windows or Mac computer.
Tip: Tip!
Microsoft Office 365 contains all the software programs you will need to help you in college. You will have access to both the online version of Office 365 (available on any Internet-connected device) and the desktop version (which this guide will show you how to download and install).
- Navigate to mypath.kctcs.edu

- Click the Waffle icon.
- Click "Microsoft 365"
-
On the next screen, look to the far right-hand side of the screen and click [[Install Apps]] to access the MS Office Installation file.
![On the next screen, look to the far right-hand side of the screen and click [[Install Apps]] to access the MS Office Installation file.](https://hazard.kctcs.edu/current-students/student-resources/media/downloading-office-365/click-install-app.png)
- Click [[Microsoft 365 apps]]
![Click [[Microsoft 365 apps]]](https://hazard.kctcs.edu/current-students/student-resources/media/downloading-office-365/click-microsoft-365-apps.png)
-
A new pop-up window will open showing you how to get started with Microsoft 365. Once you have read the pop-up, click [[Got It]]
![A new pop-up window will open showing you how to get started with Microsoft 365. Once you have read the pop-up, click [[Got It]]](https://hazard.kctcs.edu/current-students/student-resources/media/downloading-office-365/click-got-it.png) Tip: Your Microsoft 365 installation file will most likely be downloaded to your "downloads"
folder on your device. In most cases, this will appear in a banner on the bottom of
your web browser. Click on the downloaded file to begin the installation. If you do
not see the file, go to your downloads folder on your device.
Tip: Your Microsoft 365 installation file will most likely be downloaded to your "downloads"
folder on your device. In most cases, this will appear in a banner on the bottom of
your web browser. Click on the downloaded file to begin the installation. If you do
not see the file, go to your downloads folder on your device.
Open a web browser (Chrome, Firefox, Edge, or Safari)
This document displays the steps for Success Coaches in black text. Since the process is virtually the same for tutoring, those steps (where they differ) are shown in dark gold.
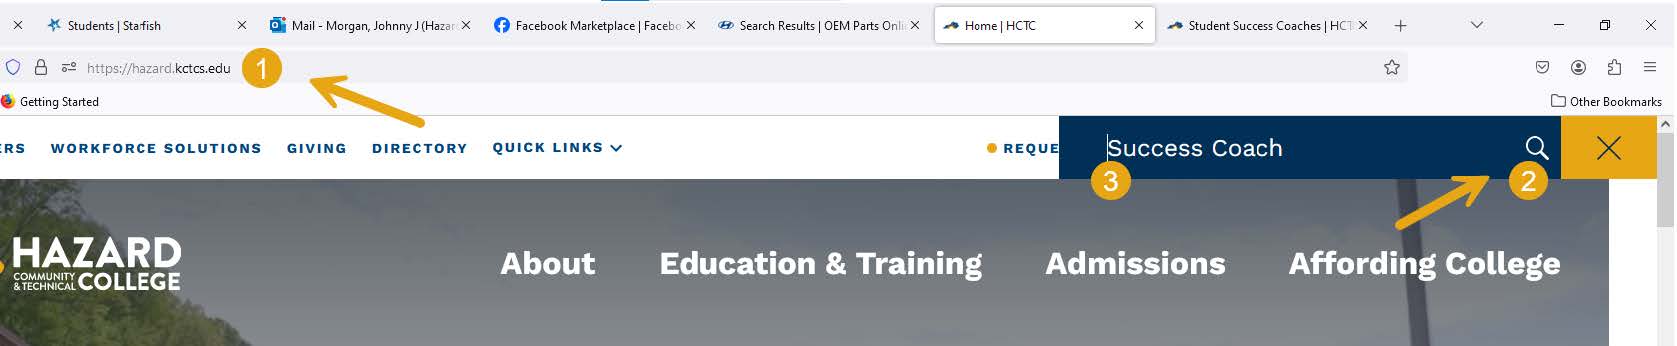
- Go to hazard.kctcs.edu.
- Click on the search bar (magnifying glass).
- Enter the term “Success Coach”. Search Tutoring for tutors.
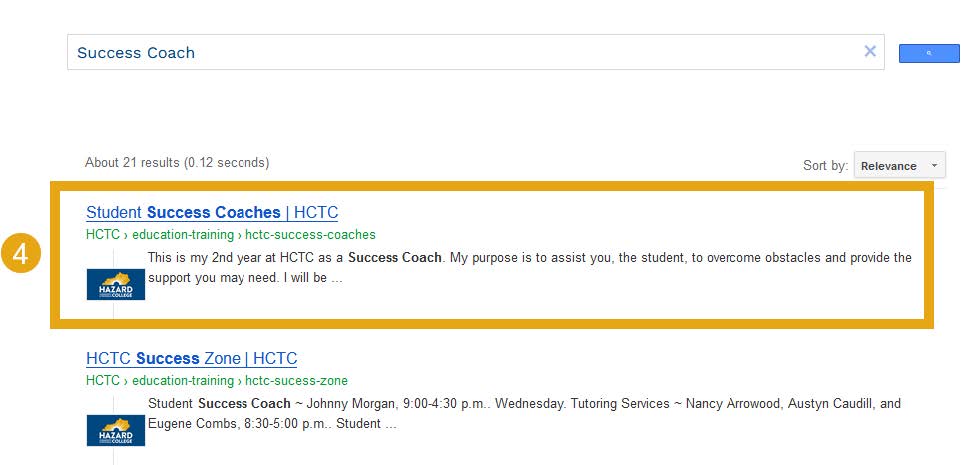
4. Click on the search result “Student Success Coaches”. Click on “Tutoring” for tutors.
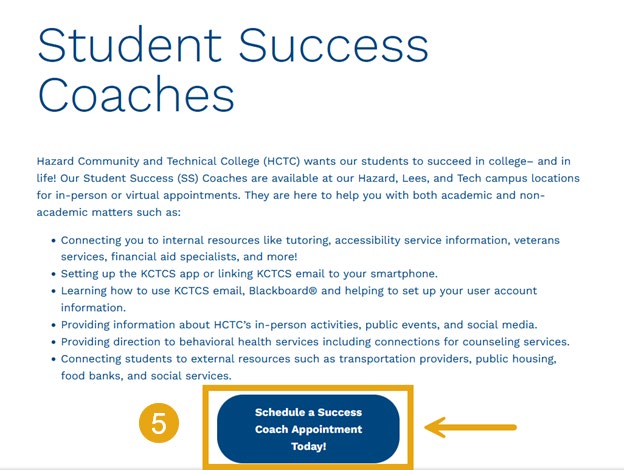
5. Click on the “Schedule a Success Coach Appointment Today!” button. The same button applies to Tutoring.
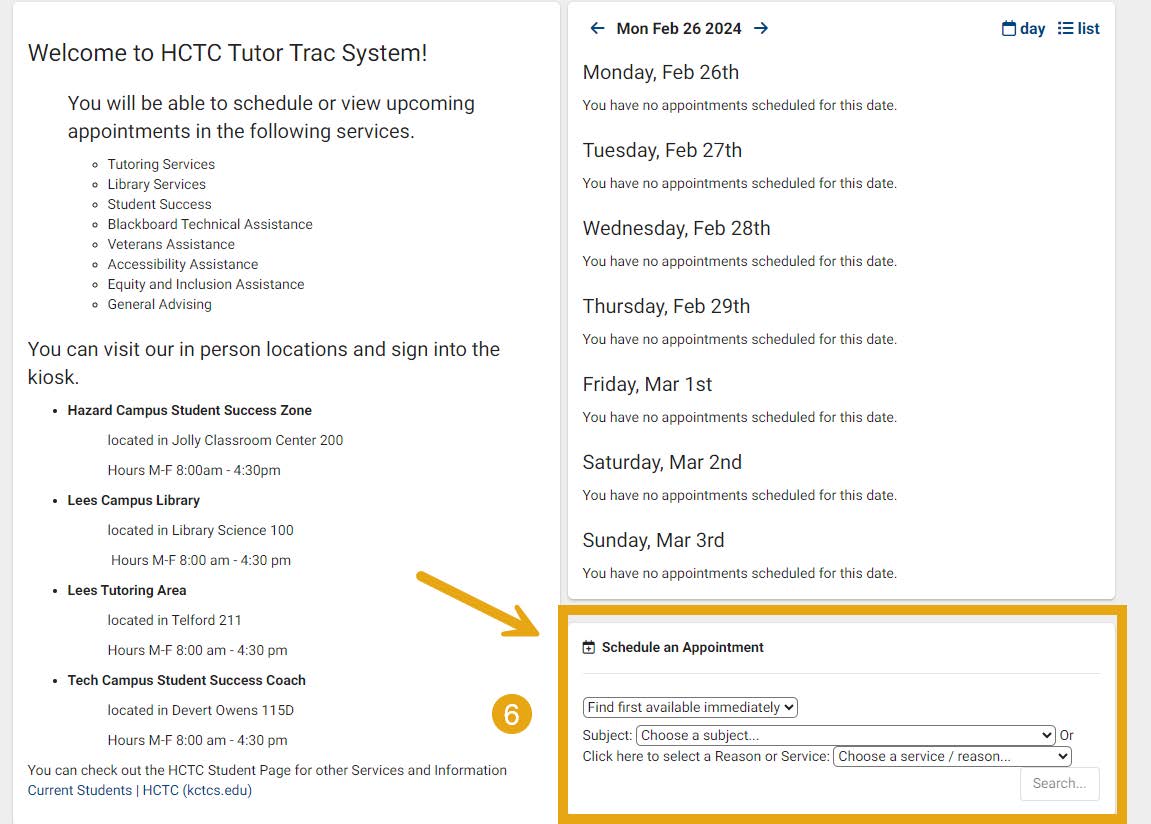
6. Locate the “Schedule an Appointment” box and fill out the drop-down menus.
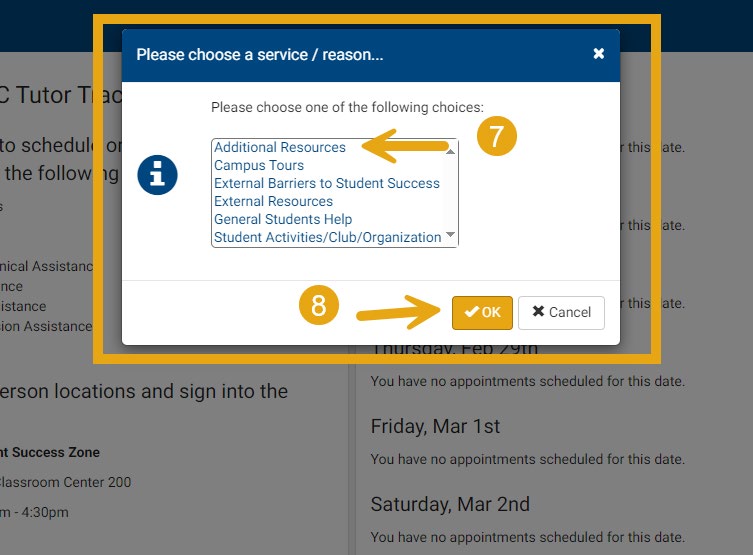
7. Click on the reason for your appointment. If you do not know which option to choose, select “Additional Resources”.
8. Click on “OK”.
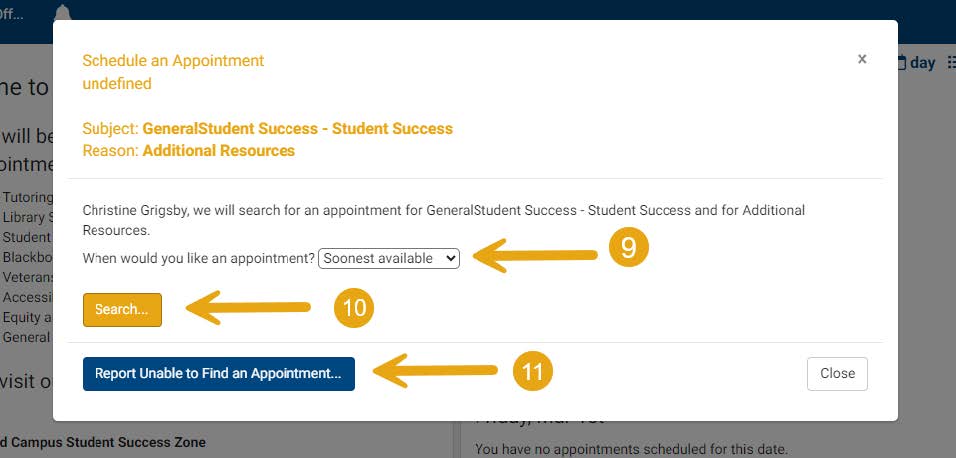
9. Click on the drop-down menu to find the date/time that is available and works with your schedule.
10. Click “Search” if you need more time options or do not see a time option available. Proceed to steps 11 – 13 only if you are unable to find an available appointment.
11. Click on “Report Unable to Find an Appointment” if no appointments are available.
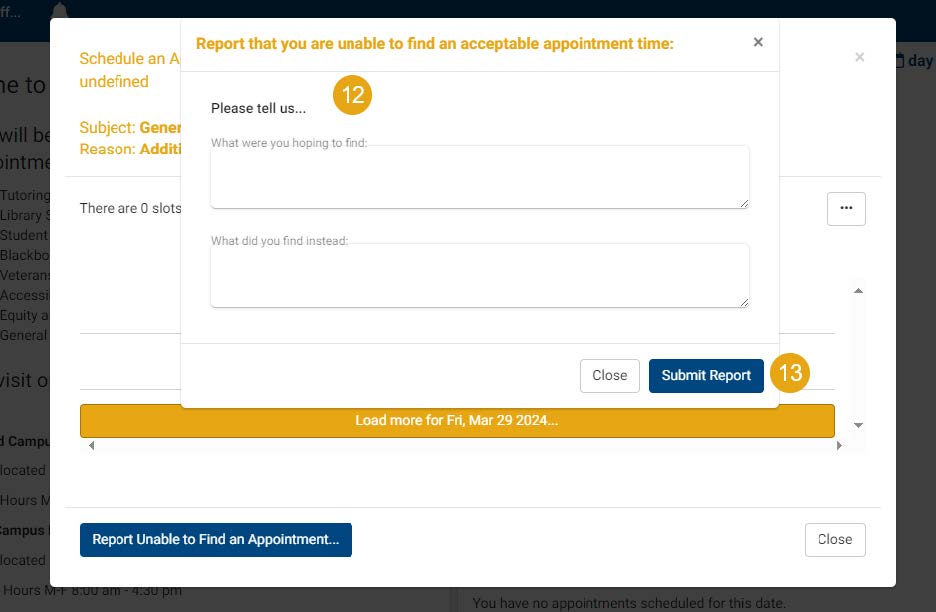
12. If you need to report no available appointments, fill out the two text boxes with what you need. As an example, “I need a Success Coach”, or “I need a Tutor”.
13. Click “Submit Report” to let us know that you cannot find any available dates to schedule an appointment.
Sometimes students will submit files for assignments but instructors will not be able to view them. Use this interactive guide to help you set permissions properly so your hard work can be seen.
- Navigate to mypath.kctcs.edu
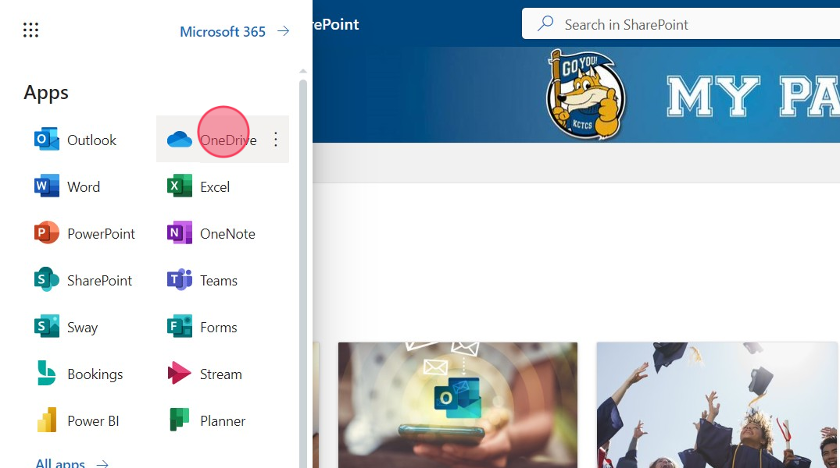
- Click the "All Apps" waffle icon.
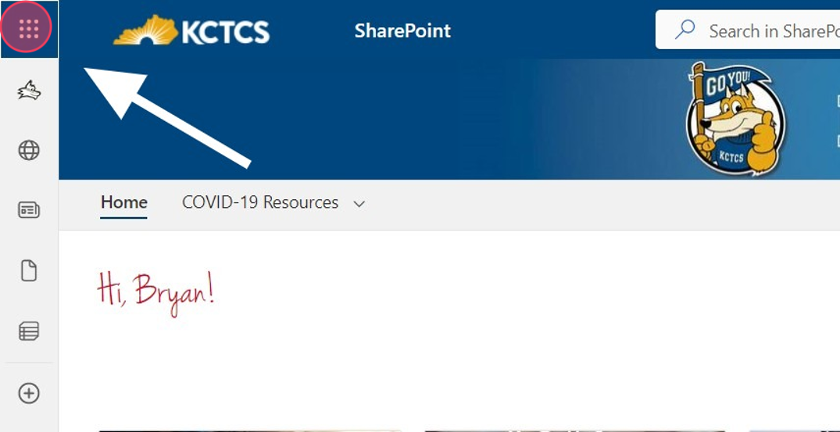
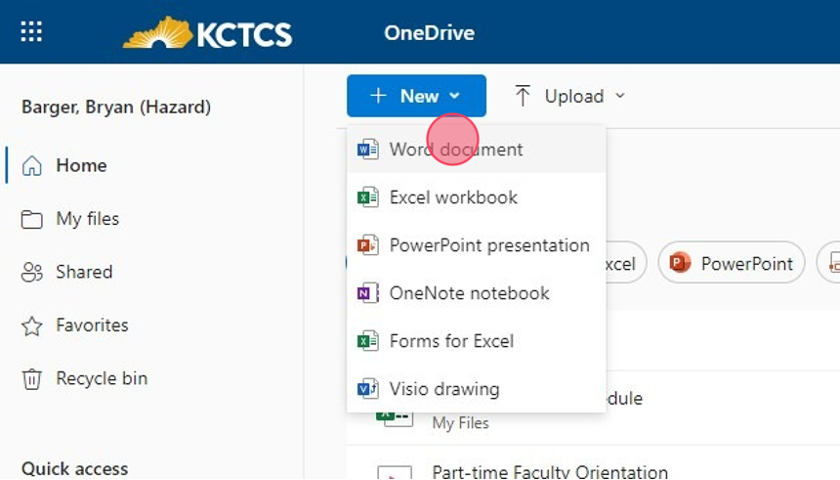
- Click "OneDrive"
-
Click "New" to begin a new file. You can also select an existing file to share.
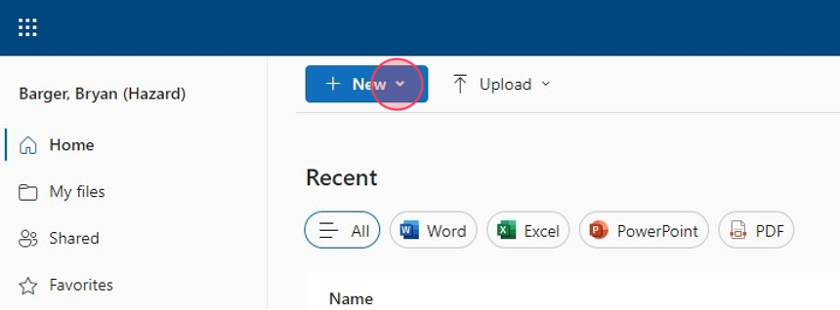
- Click "Word document"
Tip: Tip!
If you have the file already created in OneDrive, open the document and follow the steps below starting at Step 7.
-
Click the header to change the filename once you have started your document.
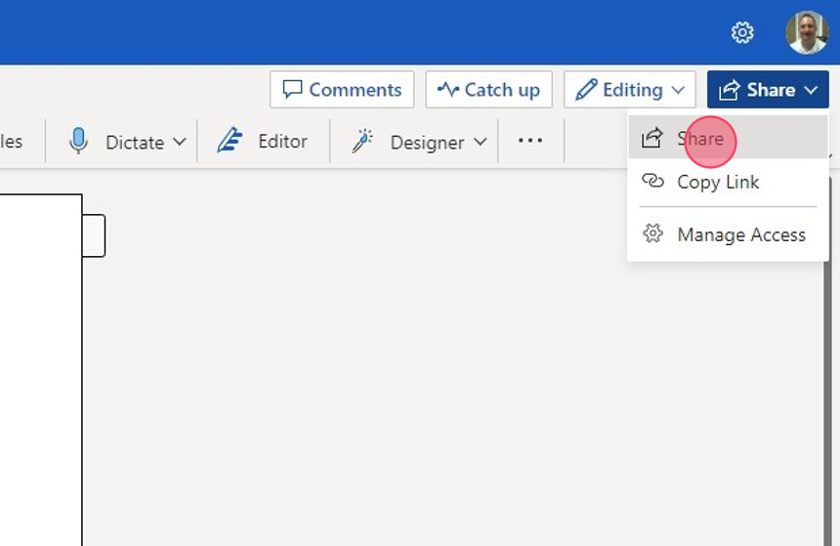
- Click "Share", then "Share" again inside your document to set the share properties.
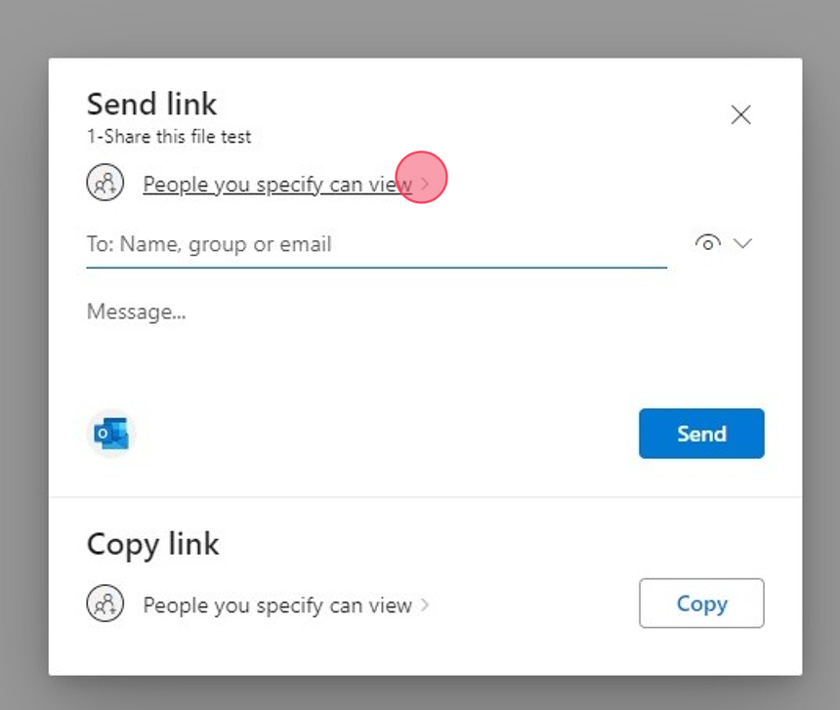
- Click the share setting to change it.
-
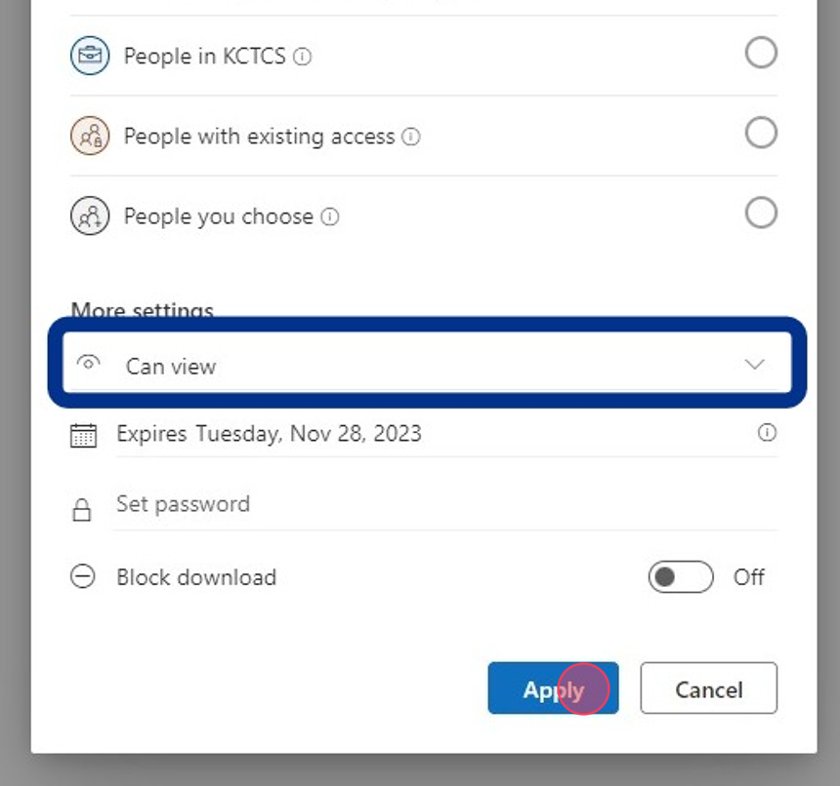
Click "Anyone" so anyone with the link can view the file.
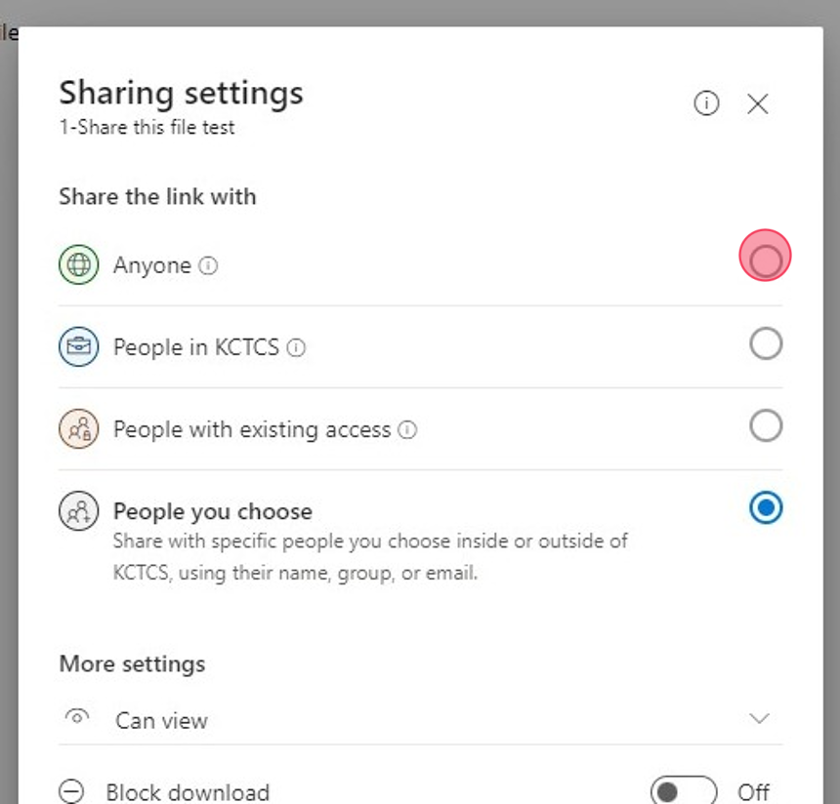
- You can change the view option to "Can edit" to allow your instructor to make changes
to your file. Some instructors prefer this option. When you are finished, click "Apply"
to save the share settings.
-
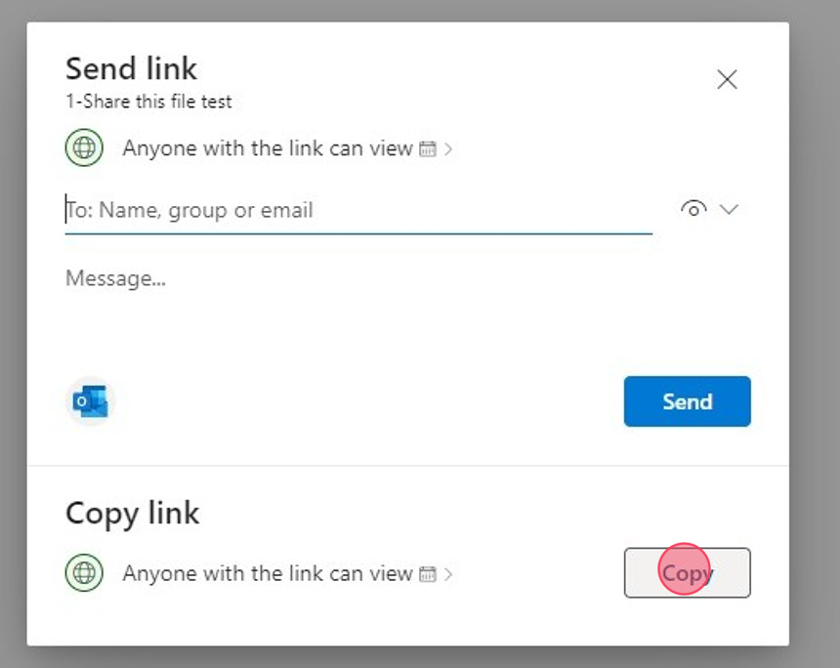
Click "Copy" to copy the link. You can then send this link via email or upload it to your Blackboard course.
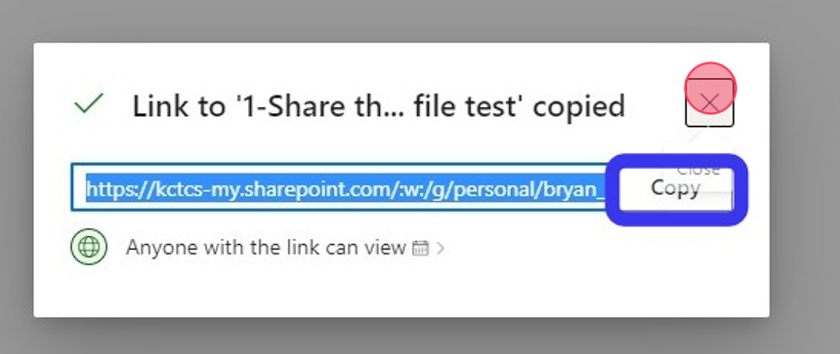
- Click "copy" again and you will receive this message letting you know the link has
been successfully copied to your clipboard.
Follow the step-by-step instructions to setup email on your iOS or Android device (smartphone or tablet).
This tutorial will show you how to turn on closed captioning in YouTube. You'll also see how to access transcripts and copy the text into a Word document.
- Navigate to https://www.youtube.com/

- Search for the video you want and click on it.
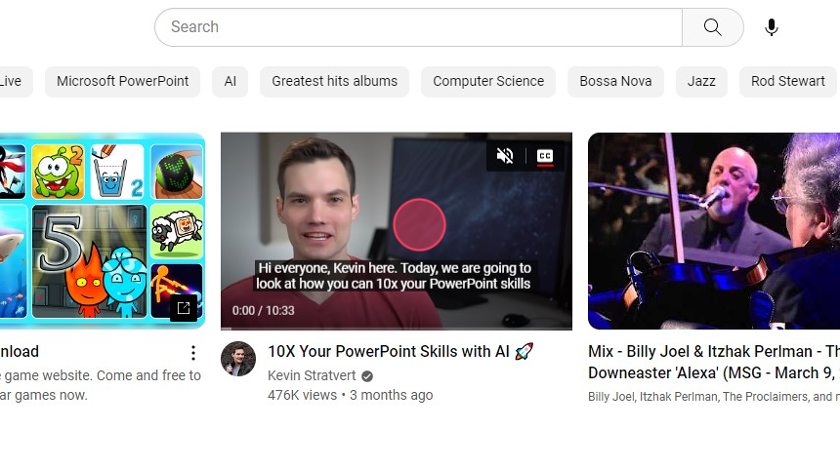
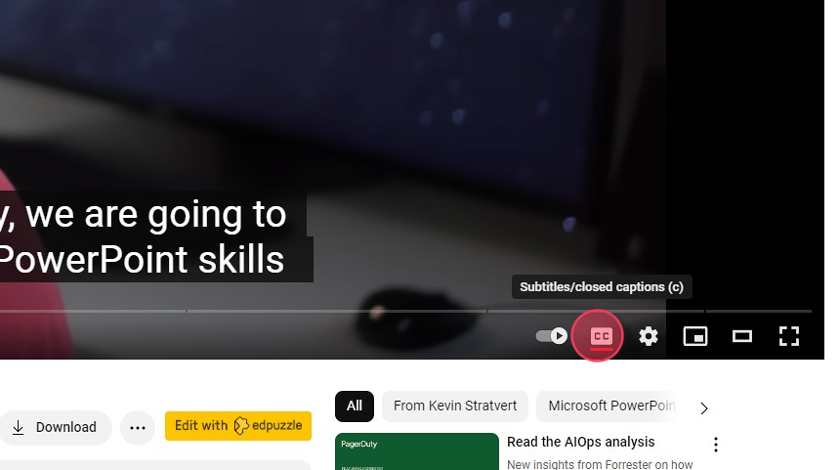
- To turn Closed Captioning On/Off, click the CC button in the lower right-hand corner
of the video.
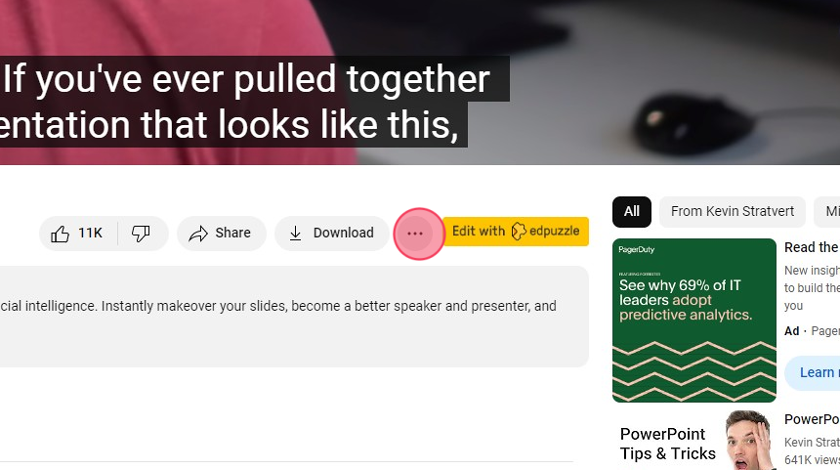
- To access the Transcript, scroll down below the video and click the ellipses (...)
icon.
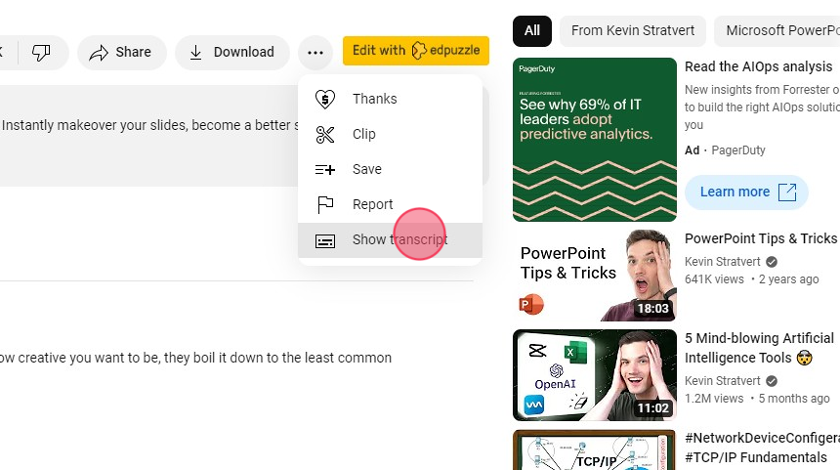
- Click "Show transcript"
-
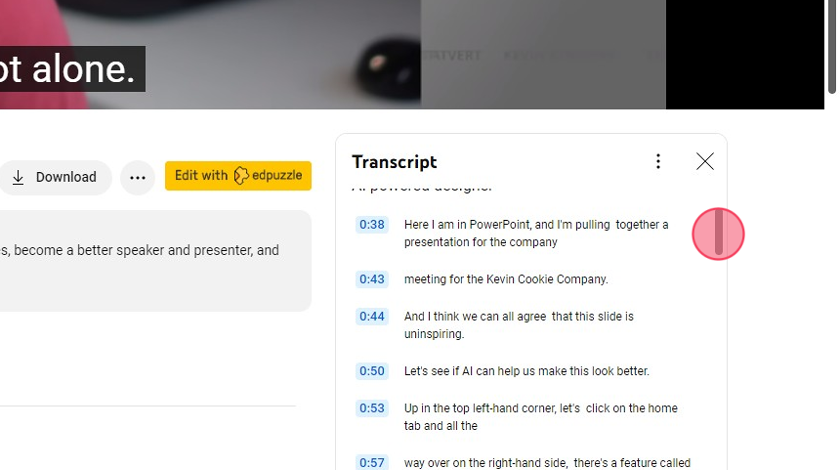
Use the scroll bar to navigate through the transcript as needed.
-
To copy the transcript, select all of the transcript text you want or need, right-click, and select copy.
-
Open Word and right-click on a blank document.
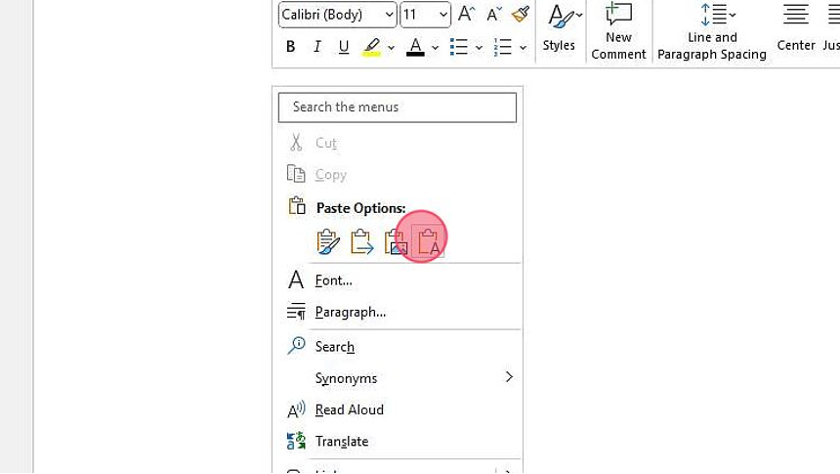
- Select the paste style you want.
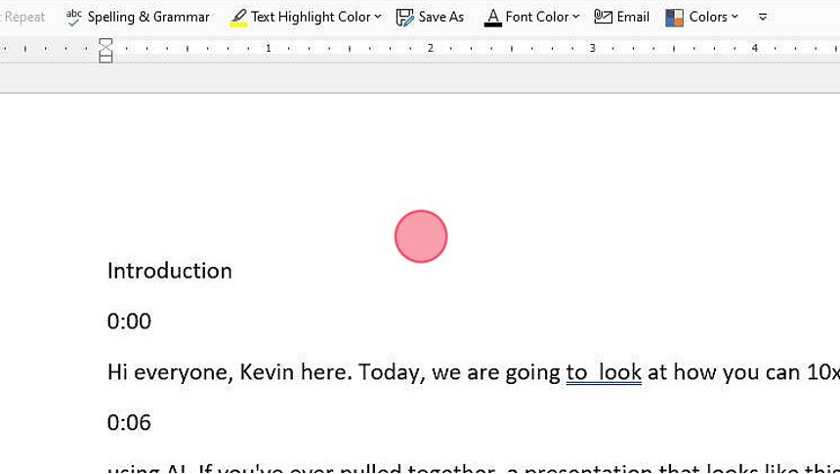
- Your text will paste into your new document and you can save the transcript.
Alternative File Formats can help you make the most of your study time and be more efficient and organized. Use these tools to help you study smarter--not harder.
Tip: Did you know you can download files in your course in alternative formats?
What are Alternative Formats? In a nutshell, it's a way for you to download a file your instructor has uploaded into the course in a different way.
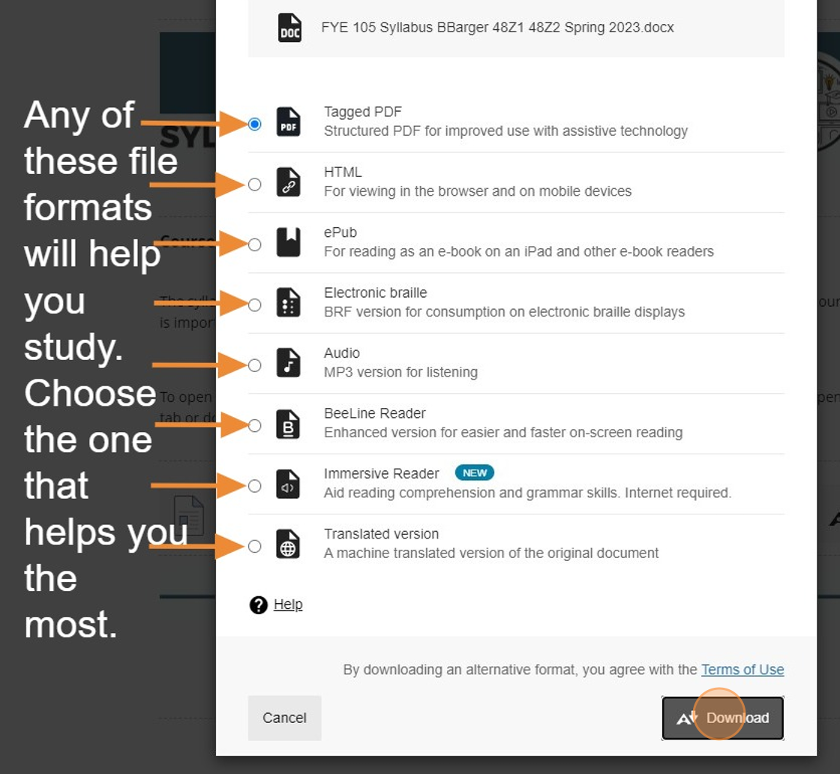
You can download files as Tagged PDFs, HTML, ePub (for ebook readers), Electronic Braille, Audio (yes, you can listen to these files as mp3s), BeeLine Readers, or even translate the file into a different language.
The best tip of all is to download the file as a Microsoft Immersive Reader file. This allows you to have the file read to you, change the speed, text size, contrast, and a host of other accessibility features. It's a fantastic tool to help you study smarter--not harder.
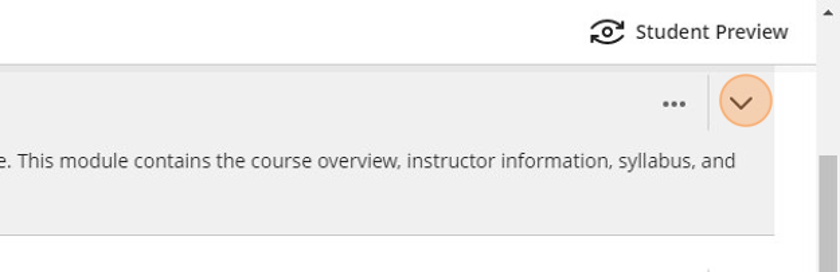
- In the Course Content area, find the module you want to open or the content with the
file you wish to download in an alternative format. For modules (shown below) click
the down arrow to expand the module). For content not inside a module, skip to the
next step.
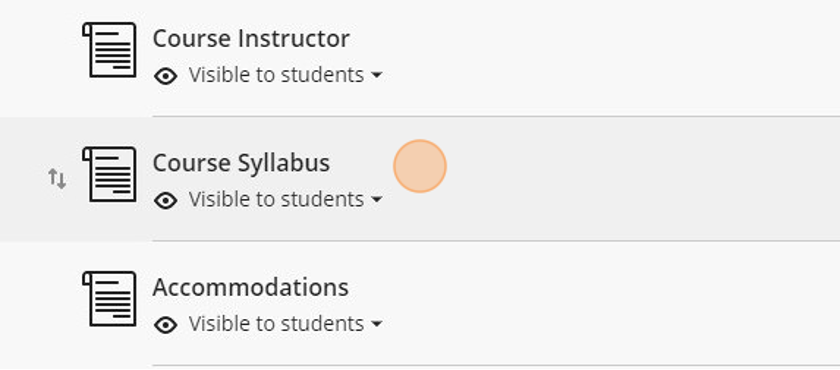
- Click on the Course Content item with the file you want to download. In this case,
we are downloading the Syllabus.
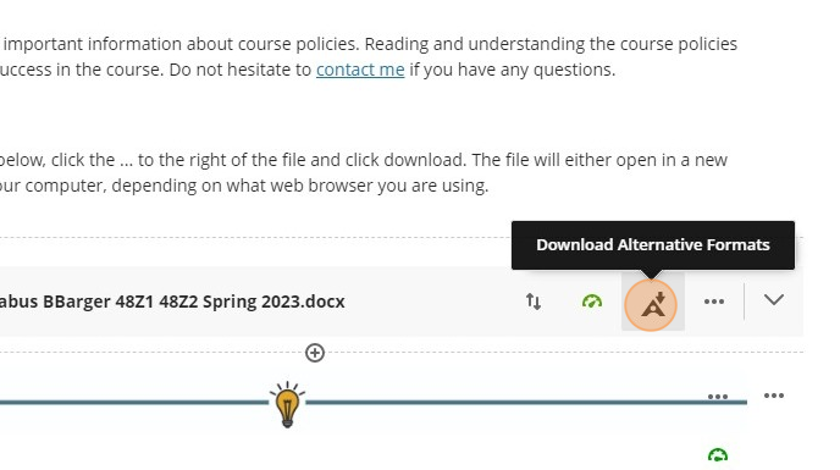
-
Once you open the Course Content item, find the file that is attached. Click on the Alternative Formats icon. It looks like an "A" with a download arrow.
- Select the Alternative Format you need and click on "Download"
Tip: Tip!
Once you have downloaded the alternative file format you want, open it up. Most of the time this file will download to your "downloads" folder on your computer or mobile device.
Give these alternative formats a try and see what they can do. You may prefer listening to the content being read, may prefer to change the font style and size, or may want to download the file to view later when you are waiting.
Use these tools to help you STUDY SMARTER.
Use this guide to help you access feedback on your assignments. Instructors will often leave comments on your work to help you. Be sure to review the comments your instructors leave on your assignments.
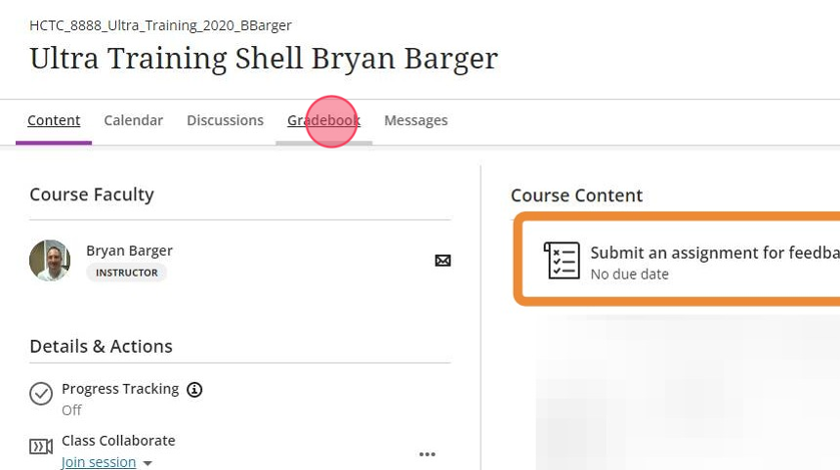
- Inside your course, click on the "Gradebook" link to access your gradebook.
-
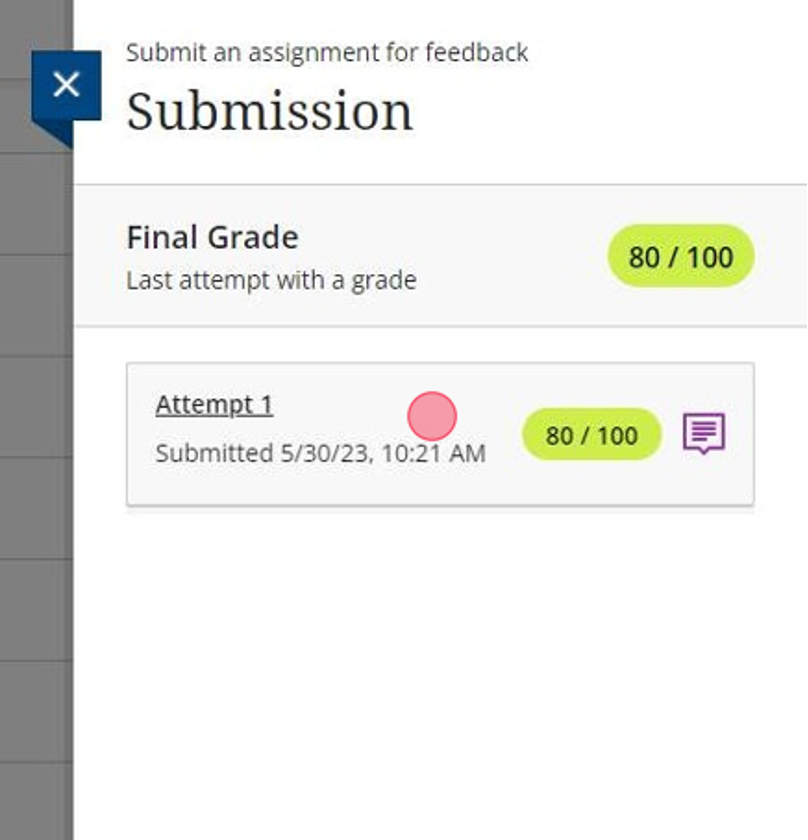
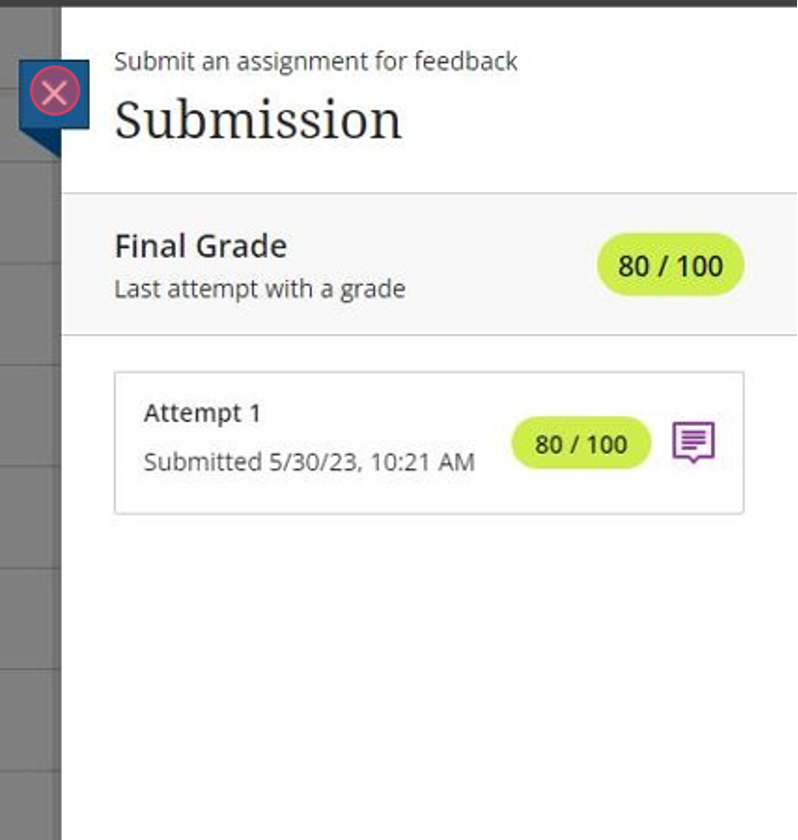
Find the assignment you want to view feedback on. You will see a grade for the assignment and a purple note icon next to your grade. This indicates your instructor has left you feedback on this assignment.

-
Click on the Attempt number with the feedback. In this case it is Attempt 1. You will see the purple note icon next to the assignment attempt with feedback.
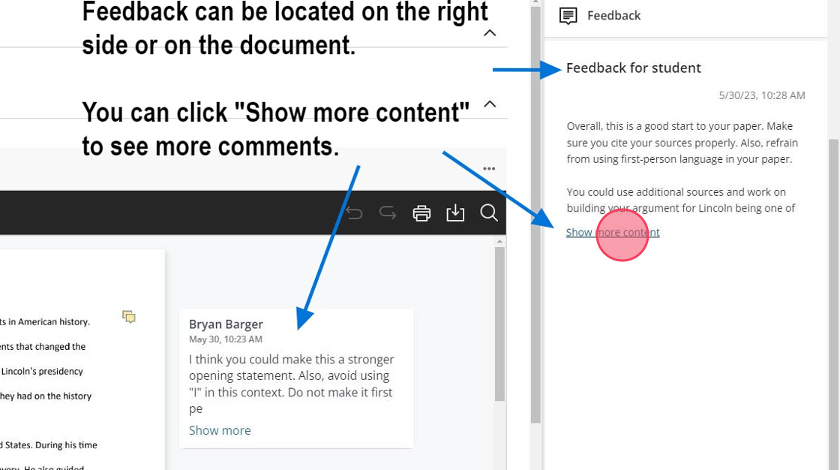
-
Comments may be on the file you submitted, in the comments section of the assignment, or in both locations. Be sure to check the document for comments and the feedback section. Click on "Show more content" to see more of the feedback left by your instructor.
-
Click the "X" icon to close the assignment when you are finished reviewing the feedback.
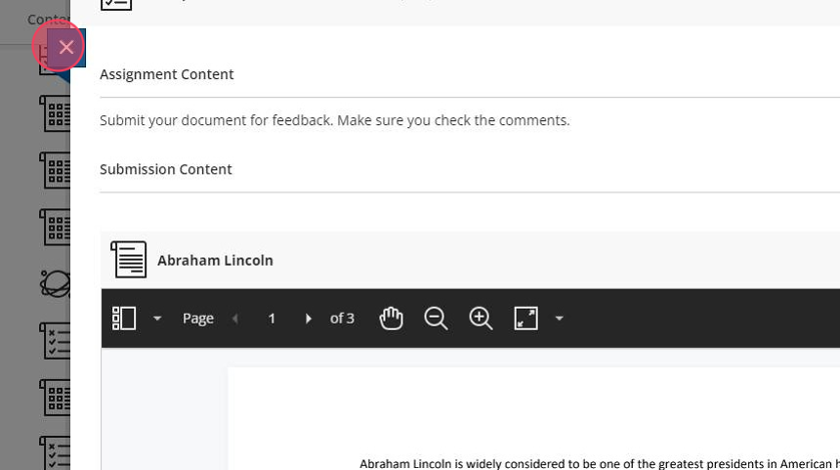
- Click the "X" icon to close the assignment and return to the course gradebook.
Your Student Account
One of the first things you should do after being accepted into a dual credit course is to set up your student account. Your account will give you access to:
- Your college email
- Blackboard, an online tool that you’ll use in most of your college courses
- The Student Self-Service Center, your one-stop shop for school records and information
- Campus computers
How to set up your account
Setting up your account is easy. Here’s what you’ll need:
- Your birth month and day
- Your KCTCS Student ID (it’s the nine-digit code at the top left corner of your schedule)
- Your personal email address (if you provided one when enrolling)
Next, follow these steps:
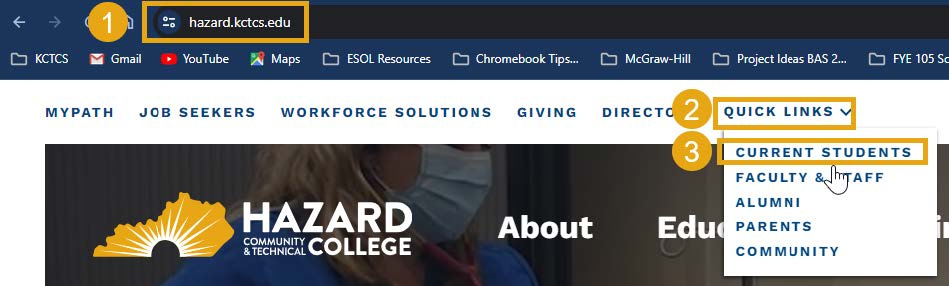
Go to hazard.kctcs.edu, click on Quick Links from the menu at the top of the page, and select Current Students from the available options.
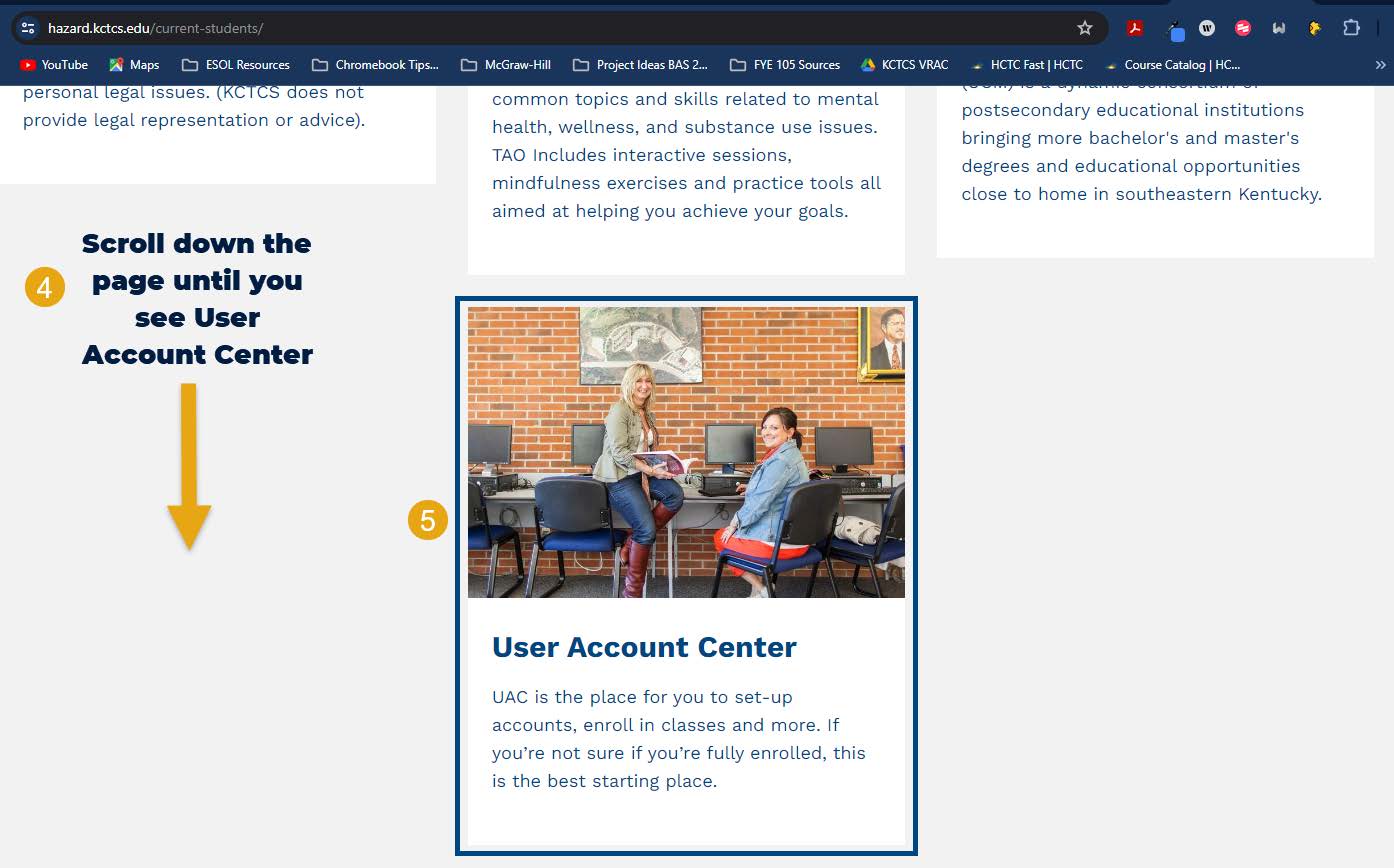
Scroll down and click on User Account Center.
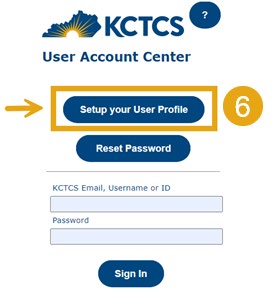
Choose Setup your User Profile.
Now, you will enter your birth month, birth day, KCTCS ID, and click next.

After this, you will need to verify your identity by having a code sent to your personal email address or cell phone number.
Once you’ve verified your identity, you’ll need to pick three security questions and provide answers to those questions.
After that, you’ll receive your username and create your password!
Note: Your username will be the first letter of your first name, your last name and a series of four numbers. For example: bsmith0012.
How to log into your account
Now that your account is set up, you’re ready to log in! Here’s how. Click on MyPath on the homepage links bar.
How to reset your password
Did you forget your password, or are you a returning student? Here’s how to reset your access.
- Open your browser and go to MyPath.
- Click on Quick Links from the menu at the top of the page.
- Select Current Students from the available options.
- Scroll down.
- Choose User Account Center.
6. Click on Reset Password.
KCTCS EMAIL
Check your KCTCS email account on a regular basis! That’s how we’ll communicate with you, so you’ll want to check it often to make sure you don’t miss anything important.
Video Overview of How to Use Your Student Email
Video Overview of Student Self-Service (emphasizing dropping/withdrawing from courses, adding courses, and the student Tasks tile)
Responsibility
You are responsible for staying on track. In college, you will be given the tools you need to be successful, but it is up to you to use them. Keeping up with your assignments is one of the ways you can be successful.
Atending class is crical. Just because you take an online course does not mean you can skip class. Log in to your courses daily to check for announcements, updates, or other important informaon.
Create a schedule and a space for you to stay on top of your work. It will make a huge difference in your success if you have a dedicated me and space to work.
Stay Current
Log in and complete your work regularly. Look at your course syllabus and schedule/calendar to see when assignments are due. Falling behind makes college much harder. Look ahead in the course and see what assignments are coming up. Plan more me for those bigger projects and get started on them sooner to avoid problems.
Office 365
Use your Office 365 account, provided to you as a student, to do your work. Save your work in OneDrive so you will always have access to it. When you submit your work as a hyperlink, make sure you give access to your instructors so they can view the documents. Just sending a link for your assignment may not work. You must give permission to your instructor to be able to open and edit it.
Your KCTCS student email is the official way the college will communicate with you. Make sure you check your email every day. If you have quesons, ask someone. Call the college, email your instructor, reach out to the department that sent the email—just ask if you are unsure.
Complete Your Work
Make sure you complete your work as assigned and in order. Do not skip around the course looking for quick assignments to complete without planning to do the harder assignments. It’s easy to skip over assignments and not return to do them. So, do yourself a favor and don’t look for shortcuts or procrasnate. It rarely ever works out.
Read
You will read a lot in college. Make sure you pay atenon to the details of an assignment. Read it, then re-read it again to pay atenon to specific details. If an assignment asks for a response of at least 150 words, make sure you write at least 150 words.
Plagiarism
Turn in your own work. Buying papers online, copying other classmates’ work, using arficial intelligence (AI) to complete your work—these are all using someone else's work. It can cause you to fail the assignment, fail the course, or even get expelled from college. Whatever you turn in, make sure it is your own work.
Communicate
Communicate with your instructors and any student support services, such as tutoring or mentoring. Use proper grammar, correct spelling, good punctuaon, be respecul, and always maintain professionalism in what you write or speak. You are preparing for your career, so start developing professional communicaon skills now.
Atend Sessions
If your instructor has review sessions, discussion sessions, live classroom meengs, or other chances to meet and get help, take advantage of those. You are invesng in your future. Put in the me and effort now so your future self will be more career ready.
Do Your Best
No mater what you do—always do your best. The more you give your best effort, the easier college will become over me. At first, a two-page paper may seem daunng. If you give your best effort, in me, wring a two-page paper will be much easier because you are developing skills along the way to make you work more efficiently, think more crically, and write more proficiently.